Polkadot is the crypto project that gets reviewed by computer scientists and shrugged at by traders. It was built by Gavin Wood — co-founder of Ethereum, author of the Ethereum yellow paper, and the guy who literally wrote the “what comes after Ethereum” framework everyone else copies. The architecture is actually different from everything else in the top 25. The price action has been brutal for two cycles running.
I’ve held DOT since the 2021 launch, staked it through the parachain auctions, and watched a 90%+ drawdown from the top. This is the walkthrough I’d give a friend buying their first DOT today on BitGet — including the staking returns that are actually one of the higher real yields in the top 20. A couple of links are affiliate.
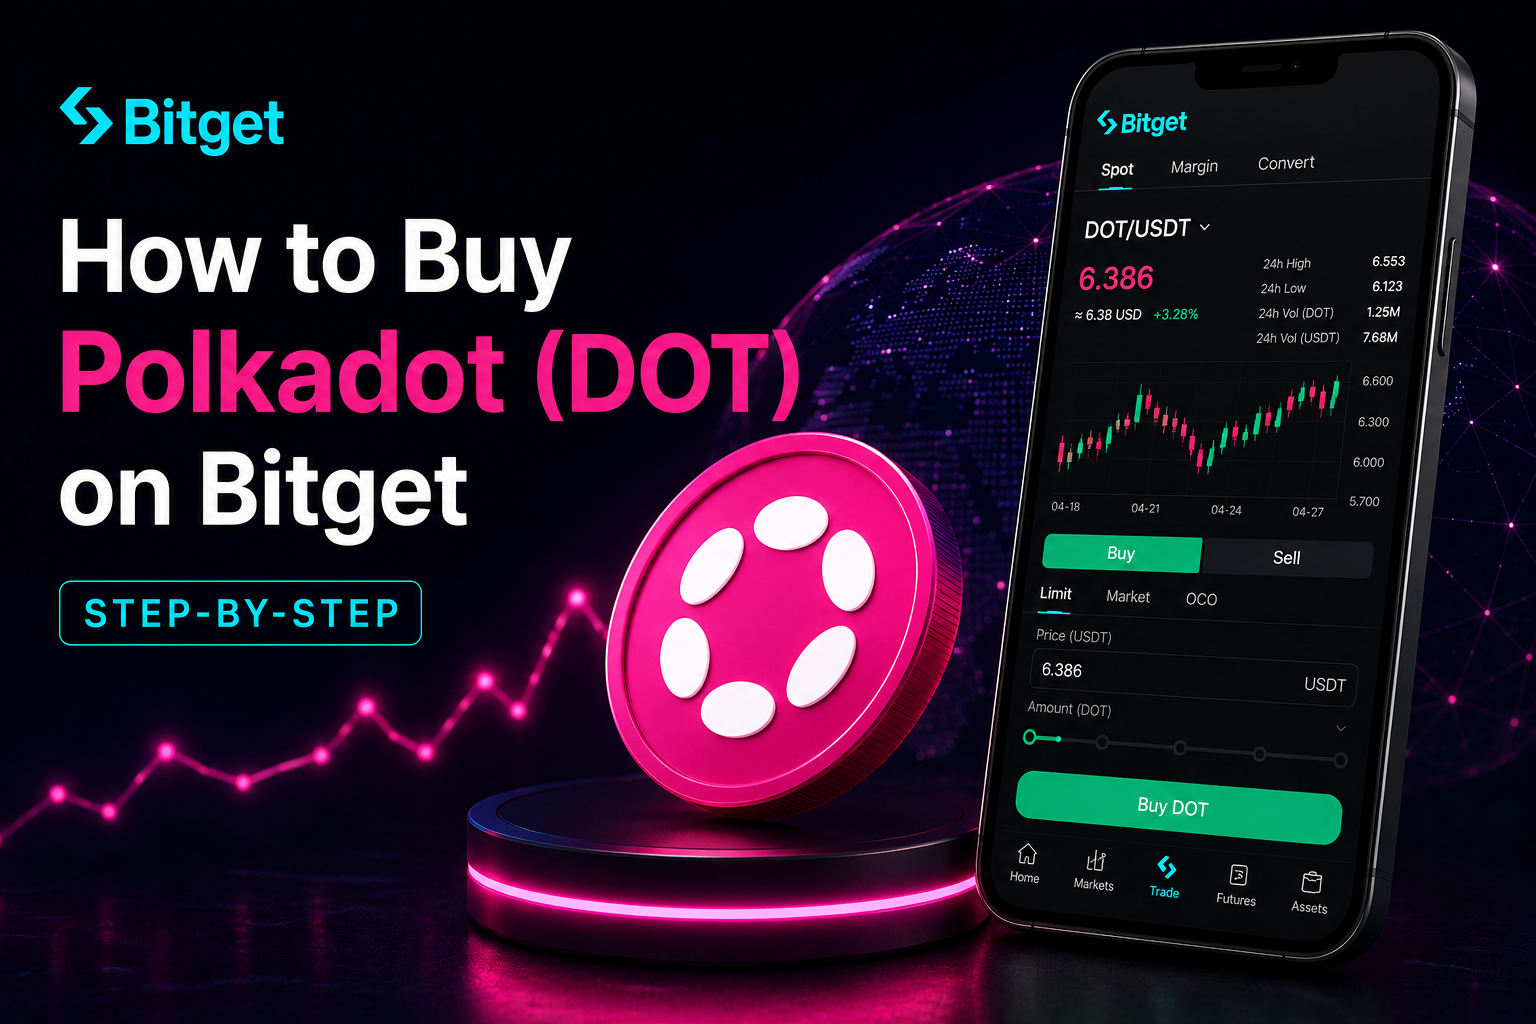
Short answer: To buy Polkadot on BitGet, sign up with email, enable 2FA, complete KYC (usually clears same-day), deposit via card, P2P, bank transfer, or crypto, then place a spot order on the DOT/USDT pair. Spot fees are 0.10%. Card buys cost 1–3%. DOT staking returns sit around 10–15% APY. For long-term holding, move DOT to a Ledger Nano X. Time from signup to DOT in your account: about 30 minutes.
Open a BitGet account → (affiliate)
Key takeaways
- Polkadot is a network of interoperable blockchains called parachains, all sharing security from the central Relay Chain.
- DOT staking yields sit around 10–15% APY — one of the higher real returns among the top 20 assets.
- BitGet spot fees are 0.10% maker/taker. Card on-ramps add 1–3%, so fund via bank or P2P if you can wait.
- DOT has its own minimum balance (“existential deposit”) — 1 DOT in your wallet to keep the account active.
- Long-term holdings belong on a Ledger, not on an exchange.
What Polkadot actually is (parachains and the Relay Chain)
Most blockchains are a single ledger doing one thing — Bitcoin is BTC payments, Ethereum is smart contracts on the EVM, Solana is high-throughput EVM-adjacent. Polkadot’s bet was different. Instead of one chain that has to do everything well, build a hub-and-spoke system: one central chain (the Relay Chain) that provides security and coordination, and dozens of specialised chains (parachains) that plug into it.
Each parachain can be tuned for a specific use case. One might be optimised for DeFi, another for identity, another for gaming. They all share the same security guarantees from the Relay Chain validators, and they can pass messages and assets between each other natively without bridges. That last bit is the technical pitch — no bridges means no bridge hacks, which is a meaningful win given how much value has been lost to bridge exploits in the last few years.
The architecture sits on top of Substrate — a framework Polkadot’s team built for spinning up custom blockchains. Substrate is used by Polkadot itself, by the parachains that connect to it, and by a load of separate projects (Kusama, Moonbeam’s EVM chain, and others). Even if Polkadot’s market position never recovers, Substrate is one of the more consequential pieces of blockchain infrastructure built in the last decade.
Gavin Wood, the project’s founder, came from Ethereum where he was a co-founder and CTO. He wrote the original yellow paper that formally specified Ethereum’s protocol. The Polkadot vision is his answer to what he sees as Ethereum’s architectural limits.
Market cap puts DOT regularly inside the top 20–30. You can check current numbers on CoinGecko and CoinMarketCap before you trade. For network stats and a clean overview of parachains, Polkadot’s own dashboard is the source I check.
For the wider context on what crypto is and how exchanges work, the how to buy crypto parent guide covers it. This post is DOT-specific.
Why I recommend BitGet for buying DOT
A handful of major exchanges list DOT. Here’s why BitGet is the one I’d point a beginner at.
Deep DOT/USDT order book. DOT trades with reasonable liquidity on BitGet — spreads are tight, fills are fast. Not as deep as BTC or ETH but plenty for any retail size.
Honest fee table. Spot maker/taker fees start at 0.10% and drop with BGB holdings or volume. No hidden mark-up. Full schedule in the BitGet trading fees post.
Multiple on-ramps. Card, bank transfer, P2P, or crypto deposit. Pick the route that fits your budget.
Staking via BitGet Earn. BitGet’s Earn product offers DOT staking with returns close to native rates but with the convenience of the exchange — no validator selection, no minimum bond, no unbonding period management. Trade-off is custody. Covered in the BitGet earn products post.
Withdrawals work. I move DOT out of BitGet to my Ledger periodically. The Polkadot network confirms in seconds and fees are negligible. Full breakdown of the platform in the BitGet review.
Not for US residents. BitGet is geo-blocked in the US. If that’s you, look at Kraken (which has strong DOT staking) or Coinbase Advanced instead. Everywhere else, this is the workflow I’d use.
Pre-signup checklist (ID, bank, 2FA, storage)
Five minutes of prep before you open the sign-up page.
A photo ID. Passport or driving licence. KYC will ask for it and a selfie.
An email you control. Not a throwaway.
A strong password. 16+ characters, never reused. A password manager makes this painless.
An authenticator app. Google Authenticator or Authy. SMS 2FA is a security hole — SIM swap attacks have drained more crypto accounts than most beginners realise.
Your funding source. Debit card, bank account, or crypto in another wallet.
A storage plan. Decide before you buy where the DOT is going. Trading float on BitGet, long-term holding on a hardware wallet. The Ledger Nano X supports DOT natively. Polkadot.js and Talisman are the popular hot wallet options.
Step-by-step: BitGet signup
Five steps. About ten minutes.
- Open the sign-up page. Head to BitGet (affiliate — gives you a small fee discount). Enter your email and a strong password.
- Verify the email. A six-digit code arrives within 30 seconds. Paste it in.
- Enable 2FA. Security Settings → Authenticator. Scan the QR code with your authenticator app. Save the backup code somewhere offline.
- Complete KYC. Identity Verification → upload passport or driving licence, take a selfie. Most clear in 10 minutes to a few hours.
- Add a payment method. Card now if you’re going that route. P2P gets set up when you fund.
Account ready. Time to fund.
Funding: card vs P2P vs bank vs crypto deposit
Four ways to put money on the platform.
| Method | Fee | Speed | Best for |
|---|---|---|---|
| Crypto deposit | Network fee only | 1–60 min | Already hold USDT/USDC/DOT elsewhere |
| P2P (bank transfer) | 0% (small rate spread) | 5–30 min | Best rate |
| Bank transfer (third-party) | 0.5–1.5% | 1–3 hours | Mid-size buys |
| Card on-ramp | 1–3% | Instant | First small buy |
Crypto deposit is the cheapest if you hold USDT elsewhere. TRC-20 fees are about 1 USDT, ERC-20 closer to 8 USDT. DOT deposits cost effectively nothing on the Polkadot network.
P2P is the highest-effort, lowest-fee route. Matched with a seller in your local currency, BitGet escrows the trade. Rates usually within 0.5% of mid-market.
Bank transfer is the middle ground — fees visible upfront, clears in a few hours.
Card on-ramp is fastest, most expensive. Fee bundled into the quoted rate. Fine for a first $50 to test the workflow.
My rule for DOT: card for the first $50, then P2P or crypto deposit.
Placing your first DOT trade
USDT is in your spot account. Two ways to convert it to DOT.
Option A: Market order (fast, slightly worse fill)
- Open the BitGet app or web platform. Go to Spot Trading.
- Search DOT/USDT and select it.
- On the buy side, select Market.
- Enter the USDT amount you want to spend.
- Tap Buy DOT. The trade fills in seconds. DOT appears in your spot wallet.
You pay 0.10% in fees plus a small slippage cost.
Option B: Limit order (slower, better price)
- Open Spot Trading, select DOT/USDT.
- On the buy side, select Limit.
- Check the current price. Set your limit slightly below the current ask.
- Enter the USDT amount.
- Tap Buy DOT. The order sits in the book until DOT drops to your price.
For anything over $100, limit orders are the right move. DOT can move fast on news or upgrade announcements. Full breakdown in the BitGet spot trading guide and BitGet order types post.
DOT staking: ~10-15% APY explained properly
The single most interesting thing about holding DOT versus most other top-20 tokens is the staking yield. Polkadot uses Nominated Proof-of-Stake (NPoS) — you nominate validators rather than running one yourself, and you earn a share of the rewards they receive for producing and finalising blocks on the Relay Chain.
Real returns sit somewhere around 10–15% APY in current cycles, depending on the validator set and inflation parameters. That’s meaningfully higher than Ethereum staking (3–5%), Solana (6–8%), or Cardano (3–4%). The catch is the inflation — Polkadot has a higher inflation rate than most of its peers, so part of your staking yield is offset by the dilution of non-stakers. Net real yield is closer to 5–8% if you factor that in. Still respectable.
Two ways to stake DOT
Direct nomination via Polkadot.js or Talisman. You connect a self-custody wallet (or a Ledger via one of these wallets), choose a set of up to 16 validators, bond your DOT to them, and start earning. The minimum bond used to be 120 DOT but is dynamic now — check the current minimum on the Polkadot staking dashboard. Unbonding takes 28 days. That’s a long time and it’s a real consideration if you might want to sell.
Nomination pools. A lower-friction option introduced a couple of years back. You join a pool with as little as 1 DOT, the pool nominates validators on your behalf, and you share the rewards. No minimum bond. Same 28-day unbonding period. Slightly lower yield than direct nomination, much lower complexity.
Liquid staking derivatives like LDOT (from various protocols) exist but I’d hold off on those until you understand the base mechanic. The official Polkadot staking docs are the source of truth.
The 28-day unbonding is the bit beginners miss. If DOT pumps 40% on a news cycle, you can’t unbond and sell into it for a month. Plan accordingly.
For more on staking as a passive income strategy generally, see the crypto staking explained and passive income crypto guides.
How much DOT to buy (position sizing)
The question every beginner asks. Three rules.
Rule one: DOT is high beta with extra volatility. When Bitcoin moves 5%, DOT often moves 8–15%. The drawdowns from cycle highs have been brutal — 90%+ in some periods. If a 60% drawdown would change how you sleep, the position is too big.
Rule two: split your entry over weeks or months. Pick a target — say £1,000 of DOT over four months — and split into 16 weekly buys. You won’t hit the bottom. You won’t hit the top. You’ll get a reasonable average and learn the platform along the way.
Rule three: factor in the staking lock. If you’re planning to stake, that DOT is locked for 28 days when you unbond. Don’t put your entire DOT position into staking on day one — keep some liquid for active use or in case you change your mind.
For a first-ever DOT buy, start with a coffee budget. Place the trade. Watch the price for two weeks. If you sleep fine, scale up.
Learning to size positions and read charts is a skill you can’t shortcut by reading blog posts. If you want to actually learn to trade — not just read about it — Trade Travel Chill (affiliate) is the community I’m part of and the one structured education source I trust. Optional. Useful when you’re ready.
For Polkadot news and updates, the official Polkadot blog and CoinDesk’s Polkadot coverage are the sources I check.
Storing DOT: Ledger, Polkadot.js, or exchange?
You bought the DOT. Where does it live?
Exchange (BitGet)
Fine for your active trading float — the amount you’d be willing to lose without losing sleep. BitGet publishes Proof of Reserves monthly. But you don’t hold the private keys. The crypto wallets explained post covers the custody trade-off in more depth.
Hot wallet (Polkadot.js extension, Talisman, SubWallet)
Polkadot.js is the official browser extension wallet. Functional but not the prettiest. Talisman is the better-designed alternative — built specifically for Polkadot and Kusama ecosystem chains, with a clean UI and broad parachain support. SubWallet is another solid option.
All three connect to staking dashboards and parachain DApps. Use them for active staking, governance voting, and parachain interaction. Bad for cold long-term storage.
Cold wallet (Ledger Nano X)
A Ledger Nano X is a hardware wallet — a USB device storing your private keys offline. DOT is fully supported via Ledger Live or through Polkadot.js/Talisman in hardware-wallet mode (which is the better path for staking with a Ledger).
You can stake DOT directly from a Ledger-secured account — the keys never leave the device but you can still nominate validators and earn rewards. This is the setup I run.
Ledger costs about £150. Cheaper than the lesson of an exchange failure. Order one from the Ledger store (affiliate). Set it up, write the 24-word seed on the card it ships with, store the card somewhere fireproof and away from your home computer.
The split I run for DOT
- Trading float on BitGet: 10% — for active trades.
- Hot wallet (Talisman): 10% — for governance and small parachain activity.
- Ledger long-term + staked: 80% — bonded to validators via Polkadot.js with Ledger as signing device.
Full self-custody playbook in the how to store crypto safely guide and the hot vs cold wallet post.
Ready to buy your first DOT?
Sign-up takes 90 seconds, KYC usually clears same-day, and BitGet supports DOT staking directly via Earn if you want the simpler path.
Affiliate link. I may earn a commission at no extra cost to you.
The existential deposit (and other Polkadot weirdness)
A few things about Polkadot work differently from other chains. Worth knowing before you start sending DOT around.
Existential deposit. Each Polkadot account needs a minimum balance — currently around 1 DOT — to stay active. If your balance drops below this, the account gets reaped and the remaining tiny balance is destroyed. Doesn’t matter for buyers with normal positions. Matters a lot if you’re sending the last fraction of DOT off an account thinking you’re closing it cleanly.
Identity registration. Polkadot accounts can register on-chain identities (name, email, Twitter, etc) verified by registrars. Useful for governance and validator transparency. Optional for buyers.
Governance via OpenGov. DOT holders vote on protocol changes through Polkadot’s OpenGov system. You can vote with bonded DOT or set up a proxy. Lower-friction than most chain governance.
Parachain slots. Parachains used to lease their slot on the Relay Chain via auctions where supporters bonded DOT to support a project. The auction system has been replaced by Agile Coretime — parachains now buy block space more flexibly. Either way, you don’t need to participate to hold DOT.
These mechanics make Polkadot more powerful than most chains for a sophisticated user — and slightly more confusing for a beginner. None of them stop you from just buying DOT, holding it, and staking it. They become relevant once you go deeper.
Common DOT beginner mistakes
The mistakes I see most often.
Confusing Polkadot with Polygon. Same first three letters, completely different projects. Polkadot is a multi-chain ecosystem with the Relay Chain at the centre. Polygon is an Ethereum scaling stack. If you meant Polygon, the how to buy polygon guide is what you want.
Forgetting the 28-day unbonding period. If you stake DOT and want to sell, you can’t sell for 28 days after initiating unbonding. Plan staking allocations with this in mind.
Sending DOT below the existential deposit. Leaves you with a reaped account and lost dust. Always leave at least the minimum balance when transferring out.
Sending DOT to a Substrate address on the wrong chain. Polkadot addresses look similar to Kusama and other Substrate chain addresses. They’re not the same. Always verify the chain before sending. The blockchain explained post covers this in more depth.
Storing on the exchange forever. Trading float yes. Life savings no. Move long-term holdings to a Ledger.
Sharing the seed phrase. No legitimate company, no support agent, no platform will ever ask for your seed phrase. The phrase stays on paper, in your home, and nowhere else. The crypto scams guide covers the most common attack patterns.
Ignoring 2FA. Set it up the second you create the account.
Jumping straight to leverage. DOT is volatile enough on spot. Six months of spot before you touch perps.
Buying every parachain token. Hundreds of parachain tokens exist. Some are legitimate. Most underperform DOT itself. Stick to DOT for the first six months unless you have a specific reason.
Forgetting tax records. Selling DOT for a profit is a taxable event in most jurisdictions. Keep records from day one. Staking rewards may also be taxable as income in your jurisdiction — verify with a local accountant.
One last thing.
If this walkthrough saved you a few hours of research, signing up through my affiliate link costs you nothing and helps keep the lights on.
Affiliate link.
One more thing: Buying a token doesn’t mean it will go up. Most altcoins underperform Bitcoin over long enough timeframes. Only buy what you can afford to lose, and never put your rent money in crypto. If a YouTuber tells you a coin will 100x — they’re guessing too.
Frequently asked questions
What is the minimum amount of Polkadot I can buy on BitGet?
You can buy fractional DOT from around $1 worth. DOT is divisible to 10 decimal places (each unit is called a planck). Note: to keep an on-chain Polkadot account active, you need at least the “existential deposit” — currently around 1 DOT — in any self-custody wallet.
Do I need to verify my identity to buy DOT on BitGet?
Yes for full functionality. You can hold and trade limited amounts without KYC but withdrawal limits are tiny. KYC usually clears within 1–24 hours.
Can I buy Polkadot on BitGet with a credit card?
Yes, but I wouldn’t. Card on-ramps charge 1–3%, credit card providers often add a cash-advance fee on top. Use debit, bank transfer, or P2P instead.
What’s the cheapest way to buy DOT on BitGet?
P2P trading or depositing crypto from another wallet. P2P fees are usually zero with a small rate spread. Crypto deposit only costs the network fee — DOT deposits cost effectively nothing.
Should I keep my DOT on BitGet or move it to a wallet?
Move long-term holdings to a hardware wallet like the Ledger Nano X. Talisman or Polkadot.js for governance and parachain DApps. Keep an active trading float on the exchange.
How does DOT staking work and what are the returns?
Polkadot uses Nominated Proof-of-Stake. You nominate validators (directly via Polkadot.js/Talisman) or join a nomination pool. Yields are 10–15% APY nominally, closer to 5–8% real after factoring inflation. Unbonding takes 28 days. BitGet’s Earn product offers a simpler staking path with custodial trade-offs.
What’s the difference between Polkadot and Ethereum?
Ethereum is one chain running smart contracts on the EVM. Polkadot is many chains (parachains) sharing security from a central Relay Chain, each customisable for its use case. Founder Gavin Wood was a co-founder of Ethereum and built Polkadot as his answer to its architectural limits.
Final word
The first DOT buy teaches you the workflow for every DOT trade after. Sign up. KYC. Fund cheaply. Place a limit order. Move the long-term bag to a Ledger. Decide whether to stake — and if you do, factor the 28-day unbonding into your plan.
That’s the short version. If you do those five things in that order, you’ve already avoided most of the mistakes new buyers make.
Right — over to you.
Related posts
- How to Buy Ethereum (ETH) on BitGet: Step-by-Step
- How to Buy Cardano (ADA) on BitGet: Step-by-Step
- How to Store Crypto Safely: The Self-Custody Guide