Most people buy their first bit of crypto on a Saturday night, half-watching a YouTube short, three pints in. They tap a button on whatever app their mate sent them, pay a 4% card fee they didn’t notice, leave it sitting on the exchange, and forget the password to their email.
Then the price moves and they panic-sell at a loss.
I’ve watched it happen to half a dozen friends. This guide is the version of “how to buy crypto” I wish someone had put in front of them before the first tap. Plain English, real numbers, the order I’d do it in if I were starting again today. Some of the links are affiliate. I flag each one.
Short answer: To buy crypto, pick a reputable exchange like BitGet, complete the KYC identity check, deposit fiat using a bank transfer or P2P (cheaper than card), place a spot buy order for Bitcoin or Ethereum to start, and move long-term holdings off the exchange into a hardware wallet. The biggest mistake beginners make is paying high card fees and leaving everything on the exchange.
Open a BitGet account → (affiliate link)
Key takeaways
- The exchange you choose decides 80% of your fees, security, and available coins — get this right first.
- Start small. £50–£200 is enough to learn the mechanics without crying if you mess up.
- Bank transfer and P2P are 2–4% cheaper than card purchases on every exchange I’ve tested.
- Buy Bitcoin or Ethereum first. Altcoins come later, once you understand what you’re doing.
- If you plan to hold for more than a few months, get the coins off the exchange and onto a hardware wallet.
Why exchange choice matters (and which one I use)
The exchange is the front door. Pick the wrong one and you spend the rest of your crypto life paying more in fees, fighting bad UI, or worrying whether the platform will still exist next month.
Here’s what actually matters when picking:
- Fees — spot maker/taker rates plus on-ramp fees on fiat deposits
- Security record — has the exchange been hacked, frozen withdrawals, or lost customer funds?
- Proof of Reserves — can you verify your balance against on-chain wallets?
- Available coins — does it list the assets you want to hold?
- Country support — is it legal where you live?
- Withdrawal speed — when you want your coins out, can you actually get them out?
I use BitGet as my main exchange. I’ve used five seriously over six years. BitGet wins on fees, copy trading depth, native bot suite, and Proof of Reserves transparency. It is geo-blocked in the United States — if you’re in the US, look at Coinbase or Kraken.
For an absolute beginner who just wants to buy a small bit of Bitcoin on their phone, Revolut (referral link) is the path of least resistance. Higher spreads, but the on-ramp is a single tap. I treat it as the “starter exchange” — fine for the first £100, not where you’d keep a real bag.
Full ranked list in the best crypto exchanges post. Side-by-side comparison in BitGet vs Binance.
How much should you actually start with?
Whatever you’re picturing — make it smaller.
The first purchase isn’t an investment. It’s a school fee. You’re paying to learn the workflow: how to fund an account, how to place an order, how to move coins to a wallet, how to read a confirmation, how to file the tax record. If you spend that first session figuring out the buttons on £50, you’ll do it right at £5,000 later.
Numbers I’d suggest:
- £50–£100 if you’re a student or low-income. Enough to learn the mechanics. Not enough to ruin your week if it crashes 40%.
- £200–£500 for a regular salary earner getting their first taste of the space.
- 1–5% of your investable net worth, max, until you’ve been in crypto for at least 12 months and survived a 30% drawdown without selling.
The rule that’s saved more people than any other: only put in money you can afford to lose entirely. Not “lose for a few months”. Lose. Permanently. Gone. If that number is £50, the right starting amount is £50.
If you can’t take the volatility, BitGet Earn flexible USDT savings is a calmer first step than spot trading. You hold a stablecoin pegged to the dollar and earn a yield while you learn.
What you need before signing up
Five things. Get them on the table now, save yourself an hour later.
- Government-issued photo ID — passport or driving licence. Required for KYC on every regulated exchange. If yours is expired, sort that first.
- Bank account in your own name — for fiat deposits and (more importantly) withdrawals back out. Most exchanges block third-party bank transfers.
- Personal email — not your work email. You’ll get login alerts, recovery codes, and tax forms here for years. Use one you control forever.
- Phone with an authenticator app — Google Authenticator or Authy. Set this up before you sign up for the exchange. SMS-based 2FA is a security hole; do not rely on it.
- A notepad or password manager — for your account password, your 2FA backup codes, and, eventually, your wallet seed phrase. Real paper or Bitwarden, not the Notes app synced to iCloud.
That’s the kit. Forty minutes of admin saves forty hours of pain.
Step-by-step: signing up on BitGet
This is the boring bit. Five steps, about ten minutes if your ID is to hand.
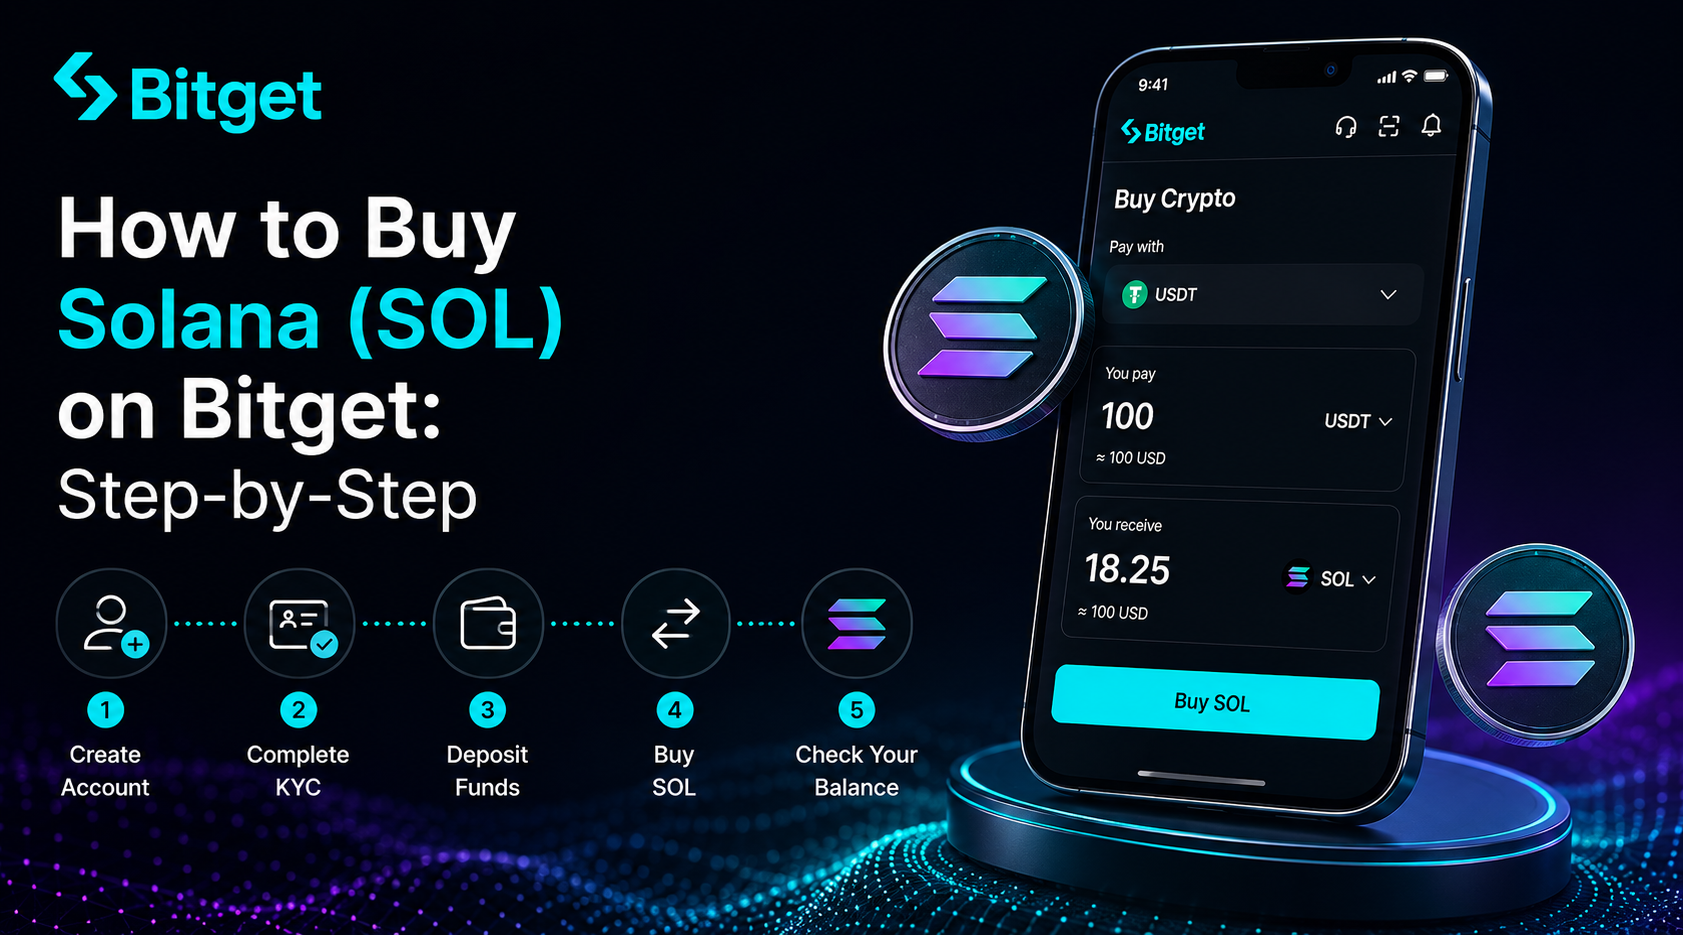
- Open the sign-up page. Go to BitGet (affiliate link — gives you a small fee discount). Enter email and a strong password. Use a password manager.
- Verify the email. Six-digit code arrives within 30 seconds. Paste it in.
- Enable 2FA before anything else. Go to Security Settings and pair Google Authenticator or Authy. Save the backup codes somewhere offline. Do not skip this. The single biggest cause of exchange account hacks is no 2FA on the account.
- Complete KYC. Click through to Identity Verification. Upload a passport or driving licence, take a selfie, wait. Mine cleared in 11 minutes. Some take a few hours.
- Fund the account. Three options — crypto deposit, card on-ramp, or P2P. We’ll cover fees in the next section.
That’s it. You now have a working trading account.
A few quick things to do while you’re in the settings:
- Set up a withdrawal whitelist so you can only send to addresses you’ve pre-approved. Adds a 24-hour delay on new addresses. Annoying. Saves you when someone steals your password.
- Turn on anti-phishing code — a short phrase BitGet includes in every official email, so you can spot fakes.
- Disable SMS 2FA if it’s on by default. SIM swaps are real.
The full feature tour lives in BitGet review.
KYC explained (and why it’s required)
KYC stands for Know Your Customer. It’s the identity check every regulated exchange runs on you. It exists because financial regulators want to stop money laundering, terror financing, and tax evasion. Whether you agree with that or not, every centralised exchange that wants to keep banking relationships does it.
What you submit, in practice:
- A photo of your passport or driving licence (front and back)
- A live selfie matched against the document
- Sometimes a proof of address (utility bill, bank statement) for higher tiers
What the exchange does with it:
- Verifies the document is real
- Confirms the face on the document matches you
- Cross-checks your name and date of birth against sanctions lists
- Stores the data in compliance with their local financial regulator
How long it takes:
- Tier 1 KYC (basic, allows trading) — usually under an hour. Often minutes.
- Tier 2 KYC (higher withdrawal limits) — 1–3 days.
- Tier 3 KYC (corporate accounts, very high limits) — manual review, can take a week.
Some people object to KYC on privacy grounds. If that’s you, there are non-KYC ways to buy small amounts (P2P, Bitcoin ATMs, DEX swaps after acquiring crypto elsewhere), but you give up consumer protections and liquidity in return. For 95% of beginners, KYC is the right tradeoff.
What KYC doesn’t do: it doesn’t make the exchange insured, regulated like a bank, or safer for your funds. It just means the platform knows who you are if something legal comes up. The security of your money still depends on the exchange’s reserves and your own account hygiene.
Three ways to fund your account: card, bank, P2P, crypto deposit
Here’s where most beginners overpay. Funding method matters more than people realise.
| Method | Speed | Typical fee | Best for |
|---|---|---|---|
| Crypto deposit | 10–60 mins | Network fee only ($1–$8) | If you already hold crypto elsewhere |
| Bank transfer (SEPA/Faster Payments) | 1 hour – 1 day | Free or tiny markup | Larger deposits, lower total cost |
| P2P (peer-to-peer) | 15–60 mins | Spread of 0.5–1.5% | Best rate for fiat, especially in countries without easy bank rails |
| Card on-ramp | Instant | 1–4% | Small first purchases when you want convenience over cost |
Crypto deposit
Cheapest if you already hold coins on another exchange or wallet. Find the deposit address for the coin and network you’re sending. Triple-check the network — sending USDT on the wrong network is one of the easiest ways to lose money permanently. Send a small test amount first if it’s a big move.
Bank transfer
In the UK and Europe, this is usually Faster Payments or SEPA — free, fast, and clean. In the US it’s ACH or wire — ACH free and slow (2–5 days), wire instant and ~$25. In other regions, it depends on what your bank supports.
The exchange gives you a reference number. The transfer must come from a bank account in your name (matching your KYC) or the exchange will bounce it back. Add the reference exactly as shown.
P2P (peer-to-peer)
You buy from another user on the exchange’s P2P marketplace. They post offers — price, payment method, minimum/maximum size. You pick one, send the fiat directly to them by bank transfer, they release the crypto from escrow on the exchange.
The exchange holds the crypto in escrow during the trade, so the counterparty can’t run off with your money once you’ve paid. P2P is how huge amounts of crypto change hands in countries where the banking system doesn’t play nice with exchanges. Always pick offers with high seller reputation (100+ trades, 95%+ completion rate).
Card on-ramp
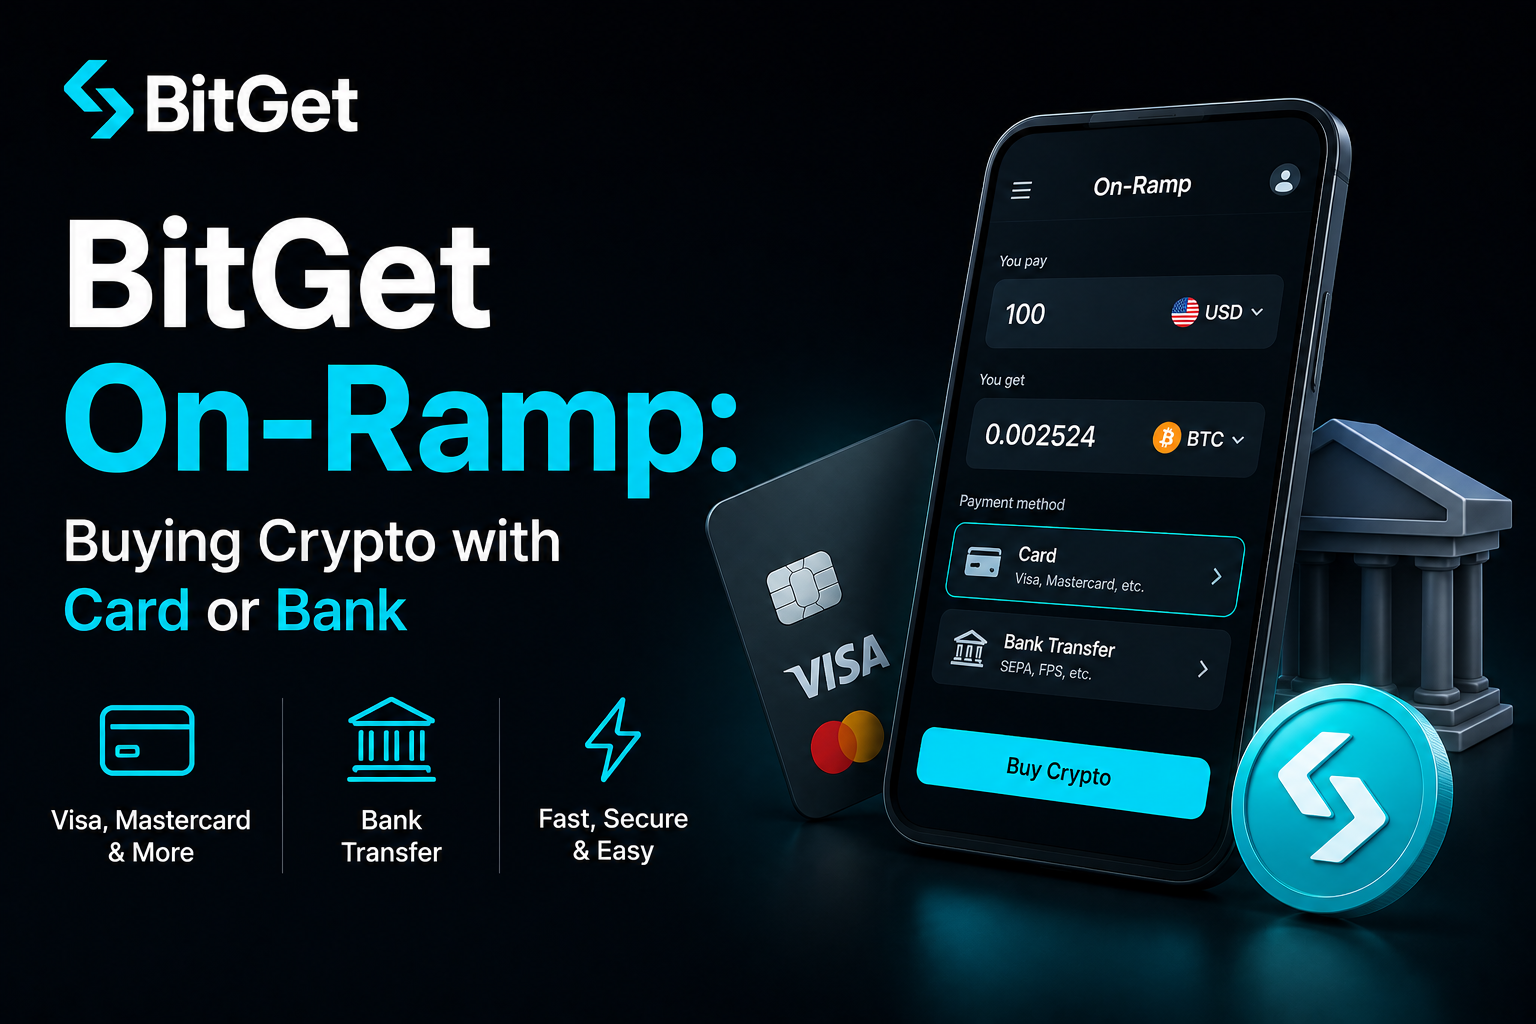
You enter your card details and the exchange buys crypto on your behalf through a third-party provider (MoonPay, Simplex, Banxa, etc). Easy. Instant. Expensive — fees of 1–4% on the transaction, plus a wider spread on the price you actually get.
If you’re depositing £500, the difference between a 0% bank transfer and a 3.5% card fee is £17.50. Five deposits a year and that’s £87.50 you never get back. Bank transfer once it’s set up.
Making your first purchase (spot trade walkthrough)
You’ve funded the account. You’ve got USDT or GBP or EUR sitting in your spot wallet. Time to buy something.
Open the spot trading page and find the pair you want. To buy Bitcoin with USDT, search “BTC/USDT”. You’ll land on the trading interface. It looks like a Bloomberg terminal had a fight with a Pokemon game. Ignore 80% of it.
Two order types matter on day one:
Market order. You buy immediately at the current best ask price. Simple, fast, and you slightly overpay because you’re taking liquidity. Fine for small first purchases.
Limit order. You set a price you’re willing to pay, and the order sits there until someone sells to you at that price. You pay less in fees (you’re a maker, not a taker) but the order might not fill if the price moves away.
For your first ever purchase, use a market order. The cost difference on £100 is pennies and you don’t want to mess about with order books while you’re learning. Once you’ve done it five times, switch to limit orders.
The flow:
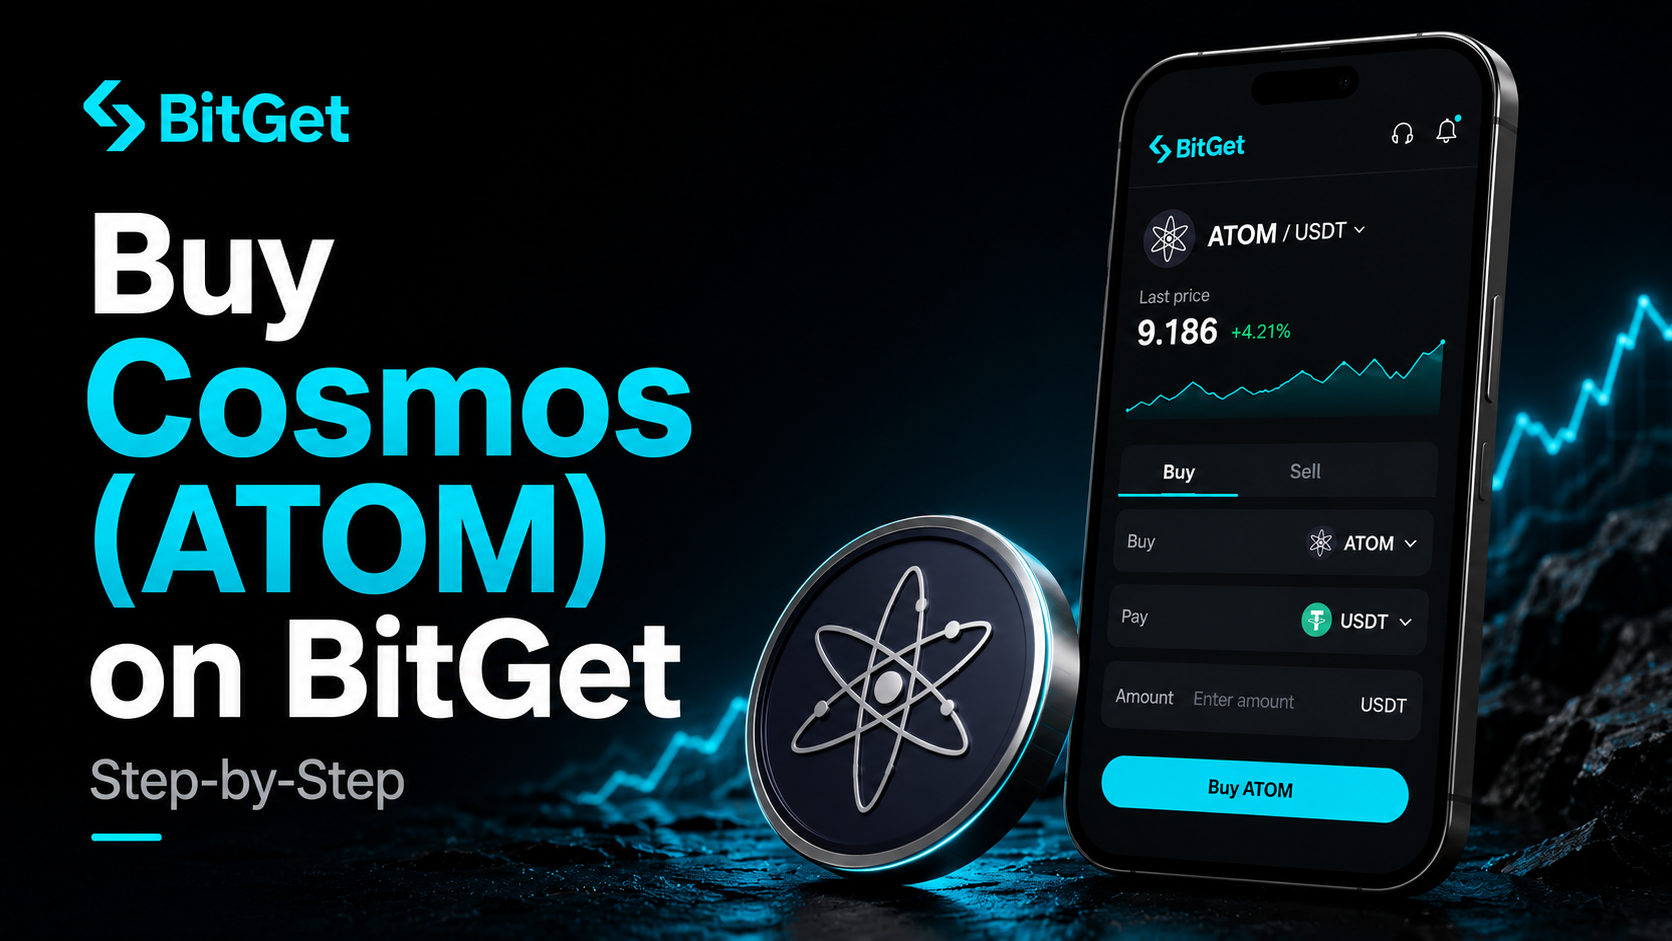
- Pick the pair (BTC/USDT).
- Click “Buy” tab.
- Type the amount of USDT you want to spend (e.g. 100).
- Hit market buy.
- Confirm.
Done. Refresh your spot wallet — you now hold BTC. The full breakdown of the BitGet interface, every order type, and slippage settings is in the BitGet spot trading guide.
A common first mistake: confusing the “Buy” tab on spot with the “Long” button on futures. Spot means you own the coin outright. Futures means you’ve taken a leveraged position on the price. If you see the word “leverage” anywhere on the page, you’re in the wrong place. Stop, hit the spot tab, start again.
Which coin should you buy first?
Short answer: Bitcoin. Maybe a bit of Ethereum. Nothing else for the first three months.
Long answer:
Bitcoin (BTC) is the largest crypto by market cap. It has the longest history, the most institutional adoption, the simplest narrative (“digital gold, fixed supply, cannot be inflated”), and the lowest probability of going to zero among assets in the space. If you only ever buy one crypto, this is the one to own. Full primer in what is Bitcoin and the buying steps in how to buy Bitcoin.
Ethereum (ETH) is the second largest. It’s the platform that hosts most of the smart contracts, stablecoins, DeFi protocols, and tokens you’ll hear about. Different value proposition from Bitcoin — Ethereum is closer to a global computer than to digital gold. The case for owning some is that if the crypto economy keeps growing, Ethereum captures a lot of the activity. Buying steps in how to buy Ethereum.
Stablecoins (USDT, USDC) are dollar-pegged crypto. Not for price upside — for parking value between trades, earning yield in BitGet Earn, or as a buying weapon during dips. Most people end up holding some at all times.
Everything else — Solana, XRP, Cardano, Dogecoin, every meme coin and Layer 2 token — is more volatile, riskier, and harder to value. Some of them might 10x. Most will not. The ones that do, you’ll only ride if you hold them. The ones that don’t, will destroy your portfolio if you sized them like Bitcoin.
A reasonable beginner split:
| Asset | Allocation | Why |
|---|---|---|
| BTC | 60–70% | Lowest risk in the space, anchor of any portfolio |
| ETH | 20–30% | Smart contract platform exposure |
| Stablecoin reserve | 10–15% | Dry powder for dips, earn yield while waiting |
| Altcoins | 0–10% | Only after you’ve held BTC/ETH for 6+ months |
For real-time prices and market caps, check CoinGecko or CoinMarketCap.
Storing what you bought
Buying is half the job. Storing is the other half. This is the bit most beginners skip and the bit that gets them rugged later.
There are three places your crypto can live:
On the exchange. Convenient — you can trade in seconds. Risky — if the exchange collapses, freezes withdrawals, or gets hacked, your coins are at risk. Fine for trading float. Bad for long-term holdings.
In a hot wallet (a software wallet on your phone or browser like MetaMask or BitGet Wallet). You hold the private keys. The wallet is connected to the internet, which means it can be drained by malware, a malicious browser extension, or a wallet drainer site you accidentally signed. Better than exchange custody for medium-term holdings, still not perfect.
In a cold wallet (a hardware device like a Ledger Nano X or Trezor). The private keys never touch the internet. You sign transactions on the device with a physical button press. By a wide margin the safest storage method. The wallet I use is the Ledger Nano X — about £130. Pays for itself the first time you avoid an exchange collapse.
The full breakdown of hot vs cold and when to use which is in hot vs cold wallet and the full self-custody playbook in how to store crypto safely.
A rough rule:
- Under £200 of crypto: leave on exchange. The hardware wallet costs more than the protection’s worth.
- £200–£1,000: hot wallet you control (BitGet Wallet, MetaMask).
- Over £1,000: hardware wallet. No exceptions.
If you order a hardware wallet, buy direct from the manufacturer: Ledger (affiliate link). Never eBay, Amazon Marketplace, or a stranger. Tampered devices with pre-filled seed phrases are a real thing.
Ready to make your first purchase?
BitGet is the exchange I use for buying and trading. Sign-up takes 90 seconds. KYC usually clears the same day.
Affiliate link. I may earn a commission at no extra cost to you.
Beginner mistakes I see every month
I’ve watched people make every one of these. Some of them I’ve made myself. Pre-warned is pre-armed.
Paying card fees by default
You click “buy with card” because it’s the first option. You pay 3.5%. You do it monthly. Over a year, that’s the cost of a hardware wallet just thrown away. Use bank transfer or P2P.
Buying at the top because of FOMO
Bitcoin runs from 60k to 90k in a week. Twitter is wild. You buy at 89k. Three weeks later it’s at 75k and you panic-sell. You’ve lost 15% and you blame the market. The market did fine. You bought at the wrong time because you weren’t on a schedule.
The fix: dollar-cost averaging. Buy the same fixed amount every week, regardless of price. £25 every Friday, set and forget. Boring. Beats 95% of active buying decisions a beginner will make. If you want to automate it, set up a DCA bot and remove yourself from the loop.
Not turning on 2FA
You sign up. You think “I’ll do 2FA later”. You don’t. Six months later your email gets phished, the attacker logs in, drains the account, and exchange support cannot help. 2FA on day one, every account, no exceptions.
Leaving everything on the exchange
The 2022 cycle wiped out users of Celsius, FTX, BlockFi, Voyager, and Genesis who treated the platform as a bank. The ones who came out fine were the ones who held long-term coins in self-custody and only used exchanges as trading venues. Same rules still apply.
Buying meme coins as a first trade
You see DOGE up 40% in a day. You buy. It dumps 30% the next day. You panic-sell. You’ve learned nothing except that you don’t like losing money. Start with BTC. Memes come after a year of seeing the cycles.
Sending to the wrong network
USDT on the BEP-20 network is not the same as USDT on the TRC-20 network. If the receiving wallet only supports TRC-20 and you send BEP-20, the funds are gone unless the receiving service can manually recover. Most can’t. Always send a small test amount first. Always.
Forgetting it’s all taxed
Every spot trade is a taxable event in most jurisdictions. The exchange does not file your tax for you. If you trade actively for a year and never export the records, you’ll find out at the worst possible time. See the tax section below.
Tax considerations and record-keeping
In the UK, US, Australia, Canada, and most of the EU, crypto is treated as property for tax purposes. That means every disposal — selling crypto for fiat, swapping one crypto for another, spending crypto on a coffee — is a capital gain or loss event you have to report.
Some things that are also taxable that beginners often miss:
- Crypto-to-crypto swaps (selling BTC to buy ETH counts as a sale of BTC)
- Staking rewards (income at the value when credited, then capital gains on the rise/fall after)
- Airdrops (income at the value when claimed)
- Mining/Earn product rewards (usually income)
- Bot trades and copy trading (each entry is a disposal)
What you do, in practice:
- Export your trade history as CSV from the exchange quarterly. BitGet has a Reports section that gives you everything as separate files.
- Import into a tax tool. Koinly and CoinTracker are the two I’ve used. They sync with most major exchanges and wallets.
- Generate the report at year-end. Hand it to your accountant or file it yourself.
Free tax tools work for a few hundred transactions a year. Paid tiers (£30–£200/yr) handle larger volumes. Cheaper than missing the filing.
In the UK, the HMRC crypto guidance is the source. In the US it’s the IRS Form 8949 and Schedule D. Local rules vary — check your jurisdiction.
The single tip that pays itself back: keep records as you go, not at the end of the year. The work is ten minutes a quarter or three weeks in April.
A safer first session — the order I’d actually do
If a friend texted me asking “how do I buy my first £100 of Bitcoin”, this is the message I’d send back.
- Open the BitGet sign-up page. Create the account with a strong password from a password manager.
- Verify your email.
- Set up 2FA with Google Authenticator. Save the backup codes offline.
- Complete KYC. Photo of your passport, selfie, done. Wait for approval.
- Once verified, send £100 by Faster Payments (UK) or SEPA (Europe) — bank transfer, not card.
- Once the deposit shows in your spot wallet, find BTC/USDT or BTC/GBP.
- Place a market buy for whatever fiat amount you’ve deposited.
- Look at your BTC balance. Take a screenshot. That’s your first Bitcoin.
- Set up a recurring buy or DCA bot if you want to keep adding.
- After three months, if your balance is over £500, order a Ledger (affiliate link) and move it off the exchange.
That’s the entire workflow. About 25 minutes of admin and you’re a Bitcoin holder with a sensible setup.
Ready to buy your first crypto?
If this guide saved you a week of YouTube binging, signing up through my referral is the easiest thanks. Costs you nothing.
Affiliate link.
Frequently asked questions
What is the cheapest way to buy crypto?
Bank transfer to a tier-1 exchange like BitGet, then a spot limit order, is the cheapest path. You pay close to 0% on the fiat deposit and 0.08–0.10% on the trade. Card purchases are 1–4% more expensive every time. P2P sits between the two in cost, with the best rates in regions where bank rails are awkward.
Can I buy crypto without ID verification?
You can buy small amounts of crypto without exchange-level KYC through P2P trades, Bitcoin ATMs, or decentralised exchanges (after acquiring crypto elsewhere). You give up withdrawal limits, consumer protections, and access to most products. For 95% of beginners, completing KYC on a tier-1 exchange is the right move.
How much money do I need to start buying crypto?
There is no real minimum — you can buy £5 of Bitcoin if you want. A sensible starting amount is £50–£200. Enough to learn the workflow without it ruining your week if the market drops 30% the following day.
Is it safe to buy crypto with a debit card?
Yes, in the sense that the transaction itself is safe. No, in the sense that you pay 1–4% in fees on every purchase. Use a card for your very first buy if it removes friction. Switch to bank transfer for everything after.
How long does it take to buy crypto?
If you already have a verified exchange account, a spot purchase takes 30 seconds. If you’re signing up for the first time, expect 10 minutes for the account, 10 minutes to upload KYC, and anywhere from 11 minutes to 24 hours for verification. Bank deposits add another 1 hour to 1 day depending on rails.
Which crypto should I buy first?
Bitcoin. After you’ve held it for a few months and understand the volatility, add Ethereum. Altcoins, memes, and new tokens are for after you’ve seen at least one full cycle. The boring answer is the right one.
Can I lose all my money buying crypto?
Yes. Crypto prices can fall 70–90% in bear markets and individual altcoins can go to zero. Exchanges can collapse. Wallets can be hacked. Self-custody mistakes can lose seed phrases. Only put in what you can afford to lose entirely.
Do I have to pay tax on crypto?
In most countries, yes. Every disposal (sell, swap, spend) is a taxable event in jurisdictions including the UK, US, Australia, Canada, and most of the EU. Use a tax tool to export your trade history quarterly. Don’t leave it to the night before the filing deadline.
Final word
Buying crypto is not complicated. It just has more buttons than buying shares and more ways to mess it up than most beginners expect.
If you remember three things from this post: use bank transfer not card, turn on 2FA before doing anything else, and move long-term holdings off the exchange. Get those right and you’ve already beaten 80% of first-year crypto buyers.
The rest is just time, patience, and not panic-selling when the price goes red. If you want the next layer — what to actually trade, how to set up a bot, how to earn yield without getting rugged — start with crypto for beginners and work outward from there.
Right — over to you.
Related posts
- BitGet Review: The Crypto Exchange I Actually Use
- How to Store Crypto Safely: The Self-Custody Guide
- Crypto for Beginners: The Honest Starting Guide