Most people buy their first Bitcoin on a Saturday night and regret it by Tuesday. Wrong platform, wrong fees, wrong amount, no plan for where to store it. They pay 4% to a card processor, get whacked on the spread, and panic-sell at the first 10% wobble.
I’ve bought Bitcoin on six different platforms over six years. The one I’d send a friend to today is BitGet. This post is the exact walkthrough — sign-up to first BTC in your wallet — with the fee comparisons and the storage step most guides skip. A couple of the links are affiliate. I’ll flag them when they appear.
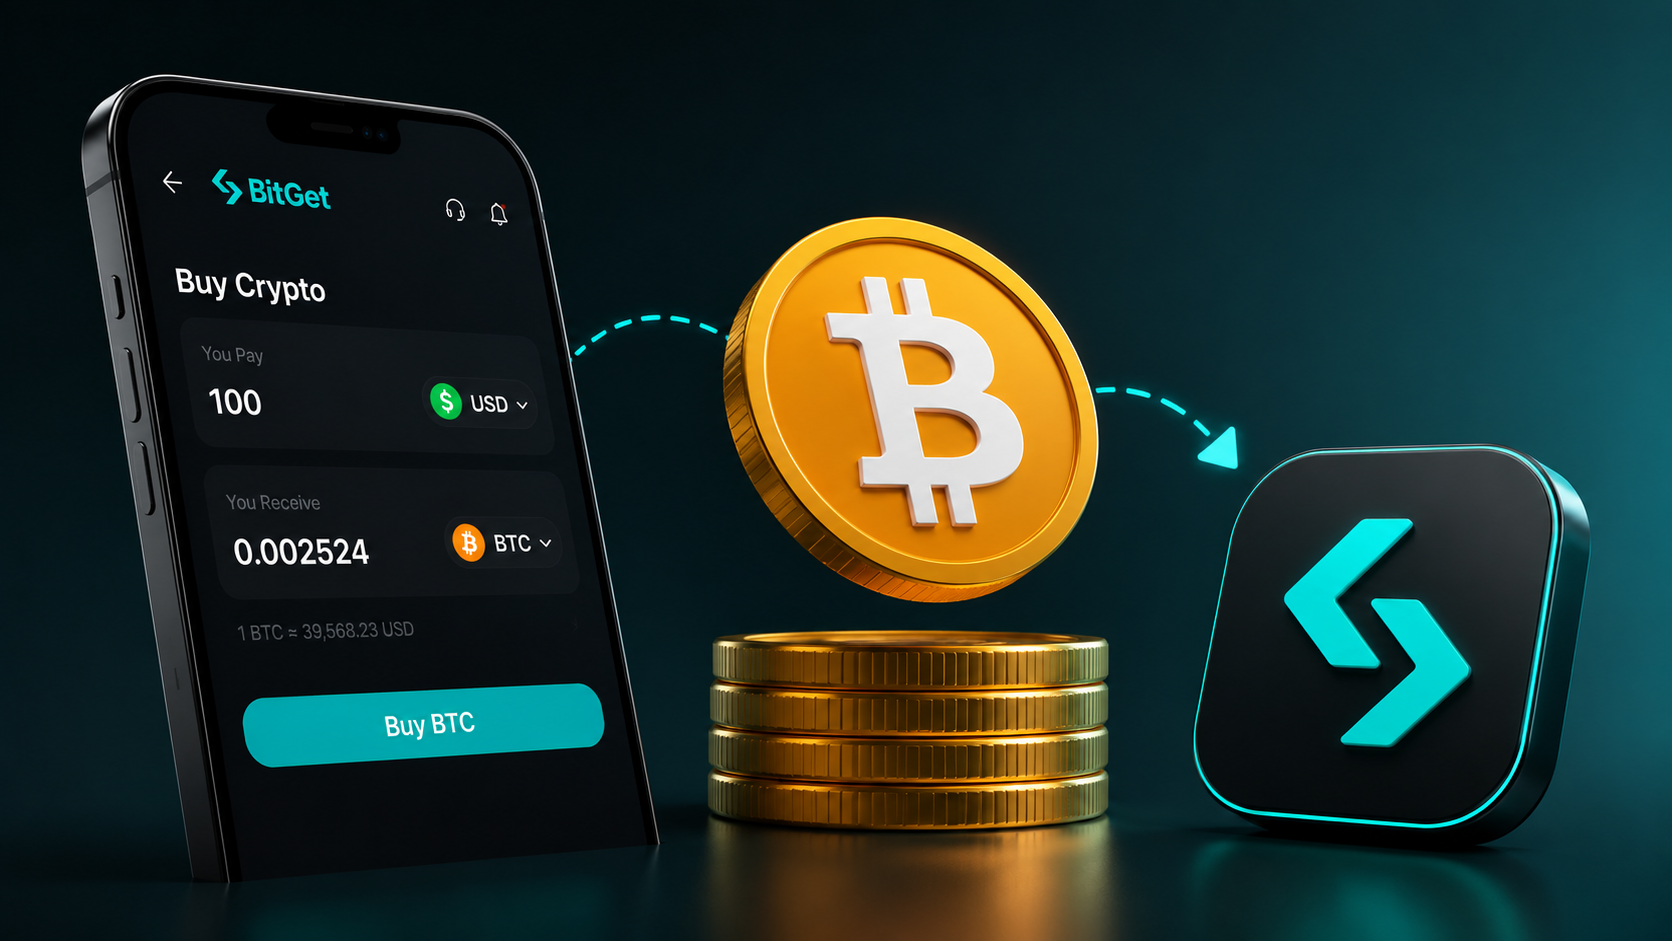
Short answer: To buy Bitcoin on BitGet, sign up with email, enable 2FA, complete KYC (usually clears same-day), deposit funds via card, bank transfer, P2P, or crypto, then place a spot order on the BTC/USDT pair. Card buys cost 1–3%. Spot trading fees are 0.10%. For long-term holding, move your BTC to a Ledger hardware wallet. Total time from signup to BTC in your account: about 30 minutes.
Open a BitGet account → (affiliate)
Key takeaways
- BitGet spot fees are 0.10% maker/taker — a card on-ramp costs 1–3%, so always fund with bank or P2P if you can wait an hour.
- KYC usually clears within 1–24 hours. Have a passport or driving licence ready.
- Place a limit order, not a market order, for anything over $100 — you’ll save the spread.
- Don’t buy your full position in one click. Split into three or four buys over a week or two.
- Anything you’re not actively trading belongs on a Ledger, not on an exchange.
Why most people pick the wrong place to buy first BTC
The first Bitcoin most beginners buy is purchased in the wrong app, at the wrong price, with the wrong fee structure. Three common mistakes I see week in, week out.
Mistake one: PayPal or Cash App. Easy interface, lousy economics. The spread is hidden in the price you’re quoted, and depending on the day you’re paying 2–4% above market without ever seeing a fee line item. Worse — on some of these platforms you don’t actually own the Bitcoin. You own a claim against the company. Try moving it to a wallet and you’ll find out what that means.
Mistake two: their bank’s “crypto” feature. Several high-street banks now offer crypto buying through their app. The convenience is real. The withdrawal restrictions are brutal. Many of them won’t let you move the BTC off the platform at all. If you can’t withdraw it, you don’t own it.
Mistake three: the first exchange they see an ad for. That’s how people end up on platforms with shallow liquidity, locked withdrawals during stress events, or fee tables hidden three menus deep. Every cycle the same names blow up and a fresh wave of beginners learns the hard way that “easy to sign up” is not the same as “safe to use”.
The right venue does four things: lets you withdraw your Bitcoin to your own wallet, shows you the fees before you pay them, holds verifiable reserves against customer balances, and gives you a chart and order book that match the real market. That’s the bar. Most “consumer” crypto apps fail at least one of those.
Why I recommend BitGet for buying BTC
I’ve used Coinbase, Binance, Kraken, Bybit, Revolut, and BitGet for any real length of time. For buying Bitcoin specifically, here’s why BitGet is the one I’d point a beginner at.
The fees are honest and low. Spot maker/taker fees start at 0.10% and drop with BGB holdings or 30-day volume. There’s no hidden spread on top of the chart price. You see the order book, you place the order, you pay the fee.
The on-ramp options are flexible. Card, bank transfer, P2P, or crypto deposit. Four ways to fund, four different cost profiles, so you can pick the cheapest route that fits your timeline.
Proof of Reserves is published monthly. Customer balances are matched against on-chain wallets via Merkle tree audits. You can verify your own account is included in five minutes. Most exchanges don’t bother. After FTX, this matters.
Withdrawal works. I move BTC out of BitGet to my Ledger every couple of months. It clears in 20–60 minutes depending on network congestion. No friction. Full breakdown of the platform in the BitGet review — that covers the safety angle, the fee tables, and the product surface in detail.
It’s not the right pick for US residents. BitGet is geo-blocked in the US. If that’s you, look at Coinbase Advanced or Kraken instead. Everywhere else, this is the workflow I’d use.
For the broader walkthrough — how exchanges work, what KYC is, how to think about which platform — the how to buy crypto parent guide covers it. This post is BTC-specific.
What you need before starting (ID, bank, 2FA)
Five minutes of prep saves an hour of hassle. Get these things lined up before you open the sign-up page.
A photo ID. Passport or driving licence. KYC will ask for it and a selfie. Make sure the ID isn’t expired and the photo is sharp — blurry uploads get rejected and you wait another 24 hours.
An email you control. Not a throwaway. You’re going to receive 2FA codes, withdrawal confirmations, and security alerts on this account for years. Use a real address.
A strong password. 16+ characters, mix of types, never reused on another site. A password manager is the right call here. If your exchange password is also your Netflix password, fix that today.
An authenticator app. Google Authenticator or Authy. Install it on your phone before sign-up so you can enable 2FA in the same session. SMS 2FA is a security hole — SIM swap attacks have drained more crypto accounts than I can count. Use the app.
Your funding source. A debit card, a bank account, or some crypto in another wallet. If you’re using P2P, your bank’s instant transfer feature (Faster Payments in the UK, SEPA Instant in the EU) makes life much faster.
A storage plan. This is the bit most beginners skip. Decide before you buy where the Bitcoin is going to live. Trading float on the exchange, long-term holding on a hardware wallet. If you don’t have one yet, this is the moment to order a Ledger Nano X — it’ll arrive by the time you’ve finished accumulating.
Step-by-step: signup on BitGet
Five steps. About ten minutes if your ID is to hand.
- Open the sign-up page. Head to BitGet (affiliate — gives you a small fee discount). Enter your email and a strong password.
- Verify the email. A six-digit code arrives within 30 seconds. Paste it in.
- Enable 2FA. Go to Security Settings, scan the QR code with Google Authenticator or Authy, and save the backup code somewhere safe. Don’t take a screenshot — write it down.
- Complete KYC. Click through to Identity Verification. Upload your passport or driving licence, take a selfie. Mine cleared in 11 minutes. Some take a few hours. Don’t skip this — without it your withdrawal limits are tiny.
- Add a payment method. If you’re going to use card, add it now. If you’re going P2P, you’ll set that up in step 5 below.
Account ready. Now the question is how to get money into it.
Funding: card vs bank vs P2P vs crypto deposit (fees compared)
Four ways to fund a BitGet account to buy BTC. Each has a different cost and timing profile. Here’s the real comparison.
| Method | Fee | Speed | Best for |
|---|---|---|---|
| Crypto deposit | Network fee only | 10–60 min | Already hold crypto elsewhere |
| P2P (bank transfer) | 0% (rate spread, usually small) | 5–30 min | Best rate, requires a few extra steps |
| Bank transfer (third-party) | 0.5–1.5% | 1–3 hours | Mid-size buys, want bank trail |
| Card on-ramp | 1–3% | Instant | Small first buy, can’t wait |
Crypto deposit is the cheapest if you already have crypto on another exchange or wallet. Send USDT, USDC, or BTC to your BitGet deposit address. Pick the right network — TRC-20 for USDT is around 1 USDT in fees, ERC-20 is 8 USDT or more. The deposit hits your account once the network confirms.
P2P is the highest-effort, lowest-fee route. You’re matched with another user who wants to sell USDT for your local currency. You send them a bank transfer, they release the USDT to your BitGet account. The whole thing is escrowed by BitGet so you don’t get burned. Takes 5–30 minutes for confirmed sellers. The rate is usually within 0.5% of mid-market.
Bank transfer via the third-party on-ramps is the middle ground. Fees are visible upfront, the transfer clears in a few hours, and you don’t need to manage a P2P trade. This is what I’d pick for a $1,000+ first buy if I wasn’t in a rush.
Card on-ramp is the fastest and most expensive route. The fee is bundled into the rate you’re quoted — you’ll see USDT cost 1.5–3% above the spot price. Convenient. Bad value over time. Fine for a first $50 to learn the interface.
My rule: card for the first $50 to test the workflow, P2P or crypto deposit for everything after.
Placing your first BTC trade (spot order walkthrough)
You’ve got USDT in your spot account. Now you buy Bitcoin. Two ways — market order or limit order. I’ll show you both.
Option A: Market order (fast, slightly worse price)
A market order buys at whatever price the order book gives you, instantly. Fine for very small buys where the spread doesn’t matter much.
- Open the BitGet app or web platform. Go to Spot Trading.
- Search BTC/USDT and select it.
- On the buy side, select Market.
- Enter the USDT amount you want to spend, e.g. 100 USDT.
- Tap Buy BTC. Done. The trade executes immediately and the BTC appears in your spot wallet within a couple of seconds.
You’ll pay 0.10% in fees plus a small slippage cost on top of the spread.
Option B: Limit order (slower, better price)
A limit order sets the price you’re willing to buy at. The order sits in the order book until someone sells at your price. You get the better fee tier (maker) and you control the exact entry price.
- Open Spot Trading, select BTC/USDT.
- On the buy side, select Limit.
- Check the current price. Set your limit price slightly below the current ask — for example, if BTC is trading at $68,200, set your limit at $68,150.
- Enter the USDT amount you want to spend.
- Tap Buy BTC. The order sits in the book. When the price drops to your limit, it fills.
For anything over $100, this is the right way. You save the spread, you pay the maker fee (which is the same as taker at the regular tier on BitGet — but cheaper at higher VIP tiers), and you don’t get whipsawed by a thin order book on a volatile minute.
Full breakdown of spot orders, order types, and the interface in the BitGet spot trading guide.
How much BTC to buy first (position sizing rule)
This is the question nobody asks before they buy and everyone asks after the first big drop. Three rules I’d hand a beginner.
Rule one: only buy what you can lose entirely. Bitcoin has had four 80%+ drawdowns in its history. The next one isn’t optional, it’s a question of when. If a 100% loss of your Bitcoin position would change how you live, the position is too big. Most beginners go in with 20–40% of their savings in their first month. That’s how they end up panic-selling at the 2022 bottom.
Rule two: split your entry over time. Don’t buy your full position in one click. Pick a target — say £2,000 of BTC over six months — and split it into 8 weekly buys of £250 each. That’s the dollar-cost-averaging idea. You won’t hit the bottom. You won’t hit the top. You’ll get a reasonable average and you’ll learn the platform along the way.
Rule three: keep a stable reserve. If you put 100% of your funds into BTC and the price drops 30% the next week, you’ve got no powder left to buy the dip. Hold 30–40% of your BTC budget as USDT, ready to deploy when something actually cheap shows up.
For a first-ever Bitcoin buy, I’d start with the equivalent of one week’s coffee budget. Place the trade. Watch the price for a week. See how it feels when the price drops 10%. If you sleep fine, scale up. If you don’t, your position size was wrong, not the market.
For the deeper take on Bitcoin specifically — what it is, why it has value, how to think about it long-term — the what is Bitcoin post is the one to read.
Storage: exchange vs Ledger
Buying the Bitcoin is the easy bit. Keeping it is what separates traders who survive from traders who don’t.
The exchange is not a wallet
When BTC sits in your BitGet spot account, you don’t technically hold it. BitGet holds it on your behalf, against verified reserves. For 99.9% of the time, that’s fine. For the 0.1% — exchange goes down, jurisdiction freezes withdrawals, account flagged — you wait. Sometimes you wait a long time.
I keep my trading float on the exchange. Active capital, sized so I could lose it without losing sleep. Everything else moves.
The Ledger plays a different role
A Ledger Nano X is a hardware wallet — a small USB device that stores your private keys offline. When you want to send Bitcoin, you plug it in and physically confirm the transaction on the device. Even if your laptop is full of malware, the keys never touch the internet. That’s the whole point.
Ledger costs about £150 for the Nano X. Cheaper than the lesson of an exchange failure. I bought mine in 2021 and it has paid for itself approximately 80 times over in peace of mind alone.
Order one from the Ledger store (affiliate). Set it up by following the on-device instructions and writing the 24-word seed phrase on the paper card it ships with. Never type the seed phrase into a computer. Never photograph it. Never store it in a cloud password manager. Write it down, store it somewhere fireproof, forget about it.
The split I actually run
- Trading float on BitGet: 15% of total holdings. Used for active trades and the spot grid bot.
- Mid-term in BitGet Earn (flexible savings): 25%. Accessible within minutes, earning small yield.
- Long-term on Ledger: 60%. Doesn’t move except to top up.
If a tier-1 exchange does fail tomorrow, I lose 15% of my stack. Painful, but recoverable.
Full playbook in the how to store crypto safely guide. If you want the hot vs cold framing explained, the hot vs cold wallet post is the next step.
Ready to buy your first BTC?
Sign-up takes 90 seconds. KYC usually clears same-day. The fees are the cheapest you’ll find on a tier-1 exchange.
Affiliate link. I may earn a commission at no extra cost to you.
Common beginner mistakes
The ten mistakes I see most often. Avoid these and you’re ahead of 80% of new buyers.
Buying with a credit card. Card fees are 1–3%, and many credit card providers also charge a cash-advance fee on top — sometimes another 3–5%. That’s 8% gone before the chart moves. Always use debit or bank transfer.
Buying the top. New buyers tend to arrive when Bitcoin is in the news, which is exactly when the price has already run. The fix isn’t to time the bottom — it’s to dollar-cost-average over weeks or months.
Selling the bottom. The flip side of the same emotional problem. Bitcoin drops 30%, the news turns negative, the new buyer panics out. Then it rallies 80% over the next four months. If you can’t stomach a 50% drawdown, your position is too big.
Storing on the exchange forever. I’ve said it three times in this post because it’s the single most expensive habit beginners have. Move long-term holdings to a Ledger. Always.
Sending to the wrong network. When you withdraw BTC from BitGet to your Ledger, you pick a network. Pick Bitcoin (BTC). Not BEP-20. Not Lightning unless you specifically know what you’re doing. Sending to the wrong network can mean the funds are gone forever.
Sharing the seed phrase. No legitimate company, no support agent, no platform will ever ask for your 24-word seed phrase. Anyone who does is trying to rob you. The phrase stays on paper, in your home, and nowhere else.
Day-trading immediately. You bought your first Bitcoin on Monday. Don’t be looking at futures by Friday. Spend at least six months on spot before you touch leverage. Read the BitGet futures USDT-M guide when you do — but read it as research, not as instructions to act on.
Ignoring 2FA. Set it up the moment you create the account. Account drainers don’t break encryption — they phish credentials and hit accounts without 2FA. Your phone authenticator is the wall they don’t get past.
Buying random alt coins on day one. Bitcoin first, Ethereum second, everything else after you’ve spent six months learning. The further you get from BTC, the higher the risk-reward and the higher the chance of zero. The how to buy Ethereum post is the natural next step once your first BTC trade is done.
Not having an exit plan. Decide before you buy what would make you sell. A specific price target. A specific drawdown level. A specific time horizon. Otherwise emotion makes the decision for you and emotion is a bad trader.
One last thing.
If this guide saved you a few hours of research, signing up through my affiliate link costs you nothing and helps keep the lights on.
Affiliate link.
Frequently asked questions
What is the minimum amount of Bitcoin I can buy on BitGet?
You can buy fractional Bitcoin from around $1 worth. There’s no requirement to buy a whole BTC — Bitcoin is divisible to eight decimal places (each unit is called a satoshi). Most people start with $50–$200 to learn the interface.
Do I need to verify my identity to buy Bitcoin on BitGet?
Yes for full functionality. You can hold and trade without KYC but withdrawal limits are tiny. KYC usually clears within 1–24 hours and unlocks full deposit and withdrawal limits. Have a passport or driving licence ready.
Can I buy Bitcoin on BitGet with a credit card?
Yes, but I wouldn’t. Card on-ramps charge 1–3%, credit card providers often add a cash-advance fee on top, and many cards block crypto purchases anyway. Use debit, bank transfer, or P2P instead.
What is the cheapest way to buy Bitcoin on BitGet?
P2P trading or depositing crypto from another wallet. P2P uses a bank transfer matched directly with another user — fees are usually zero with a small rate spread. Crypto deposit only costs the network fee. Card on-ramp is the most expensive.
Should I keep my Bitcoin on BitGet or move it to a wallet?
Move long-term holdings to a hardware wallet like the Ledger Nano X. Keep an active trading float on the exchange. The rule: any amount on an exchange should be small enough that you could lose it without it changing your life.
How long does it take to buy Bitcoin on BitGet from a fresh signup?
About 30 minutes if KYC clears immediately and you fund via card. Closer to a few hours if you fund via bank transfer or P2P. The trade itself takes seconds — most of the time is sign-up, KYC, and funding.
What’s the BTC ticker on BitGet and which pair should I use?
The ticker is BTC. The pair to use for a stablecoin-funded buy is BTC/USDT — that’s the deepest order book with the tightest spread. BTC/USDC also works if you’ve deposited USDC instead.
Final word
The first Bitcoin buy is the most important trade you’ll ever make on a new platform — because it teaches you the workflow you’ll use for every trade after.
Sign up. Complete KYC. Fund the cheapest way that fits your timeline. Place a limit order. Move the long-term holdings to a Ledger. Don’t touch futures for at least six months.
That’s the short version. If you do those five things in that order, you’ve already avoided the mistakes that cost most beginners 30% in their first six months.
Right — over to you.
Related posts
- BitGet Review: The Crypto Exchange I Actually Use
- How to Store Crypto Safely: The Self-Custody Guide
- How to Buy Ethereum (ETH) on BitGet: Step-by-Step