The first time I opened a futures trade I doubled my money in 40 minutes. The second time I lost three weeks of profit in 90 seconds. The third time I started taking notes.
BitGet futures is one of the most-used products on the exchange and one of the easiest places in crypto to lose your shirt. This is the walkthrough I wish I’d had on day one — how USDT-M perpetuals work, what the fees actually cost, how funding bleeds your account when you’re not looking, and the rules I follow to stay in the game. Some links are affiliate. I’ll flag them.
Heads up: This post covers leveraged trading. Leverage can wipe out your account in a single move. If you’re new to crypto, start with spot trading and learn the basics before touching futures.
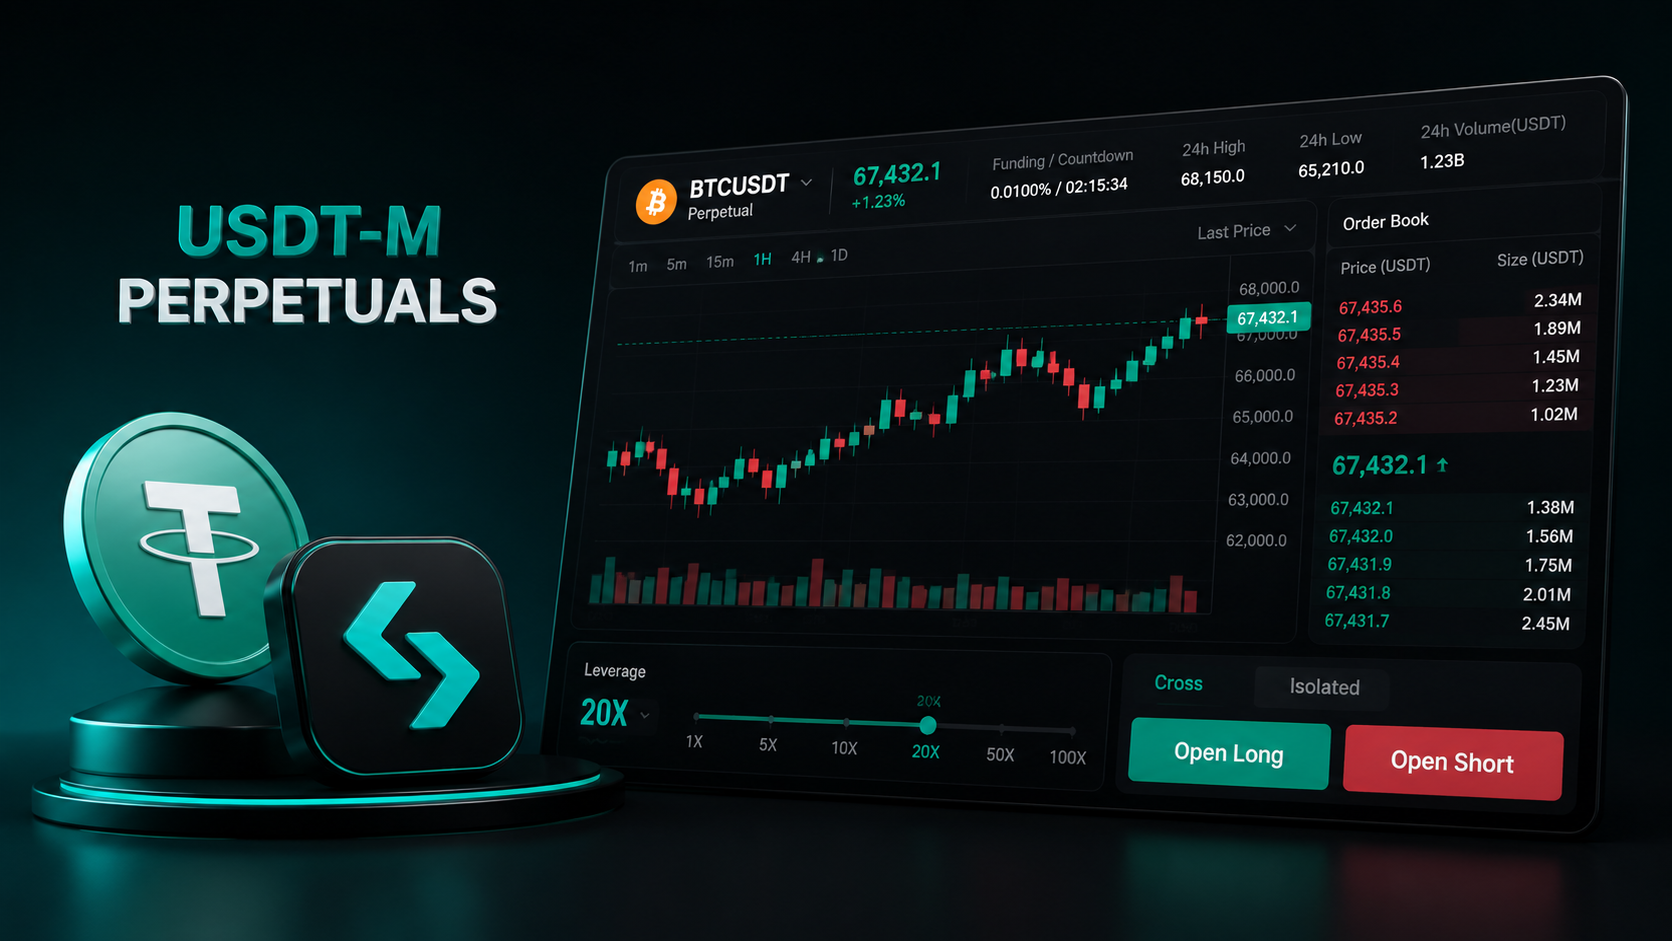
Short answer: BitGet USDT-M perpetuals are leveraged futures contracts settled in USDT, with no expiry date and funding payments every 8 hours. Maker fees start at 0.02% and taker at 0.06%. Leverage goes up to 125x on BTC and ETH. The contract follows the spot price via a funding mechanism — long pays short when the market is bullish, and vice versa. The biggest beginner mistake is using 50x+ leverage. The biggest pro habit is treating the stop loss as part of the trade, not an afterthought.
Open a BitGet account → (affiliate)
Key takeaways
- USDT-M perpetuals are settled in USDT, never expire, and use funding to track spot — you can hold a position indefinitely as long as you can cover funding.
- Fees are 0.02% maker / 0.06% taker at the regular tier. Funding is paid every 8 hours and can dwarf trading fees if you hold long.
- Max leverage is 125x on BTC and ETH, with mid-caps capped at 20x to 50x and new listings as low as 5x or 10x.
- Isolated margin caps your loss to the position. Cross margin pulls from your entire futures wallet — far more dangerous, useful only when hedging.
- Liquidation happens at the maintenance margin level, not 100% loss. A 20x long can liquidate on a ~4.5% move against you. Stop loss before liquidation, every single time.
What USDT-M perpetuals are (vs Coin-M and dated)
A perpetual contract is a futures contract with no expiry date. You can hold it for an hour or a year. There’s nothing forcing you to close it.
USDT-M means the contract is margined and settled in USDT (or USDC for USDC-M, but mechanics are the same). You post USDT as collateral, your profit and loss is calculated in USDT, and your liquidation price is denominated against USDT.
That’s the bit that matters for most retail traders — your account size in dollars stays predictable, because USDT is roughly pegged to one US dollar. You don’t need to think about a second variable (the underlying coin’s price moving while you’re holding margin in that same coin).
USDT-M vs Coin-M
Coin-M perpetuals are settled in the coin itself. A BTC Coin-M perpetual is margined in BTC and pays out in BTC. Pros traders use Coin-M for one main reason: they want long exposure to BTC anyway, and earning a basis spread denominated in BTC compounds the bag. The downside is your collateral fluctuates with the price of BTC, so a 10% drop hits your margin twice — once on the position, once on the collateral.
For 99% of beginners, USDT-M is the right call. Cleaner maths, predictable account size, no surprise margin calls because your collateral coin dumped.
USDT-M vs dated futures
A dated contract has an expiry date. BTC quarterly futures expire on a fixed date each quarter and settle at the index price at that moment. You don’t pay funding on a dated contract — instead, you pay the basis (the gap between the contract price and the spot price), which compresses to zero at expiry.
BitGet runs dated contracts on majors. Most retail traders use perpetuals because there’s no expiry deadline forcing a decision. You exit when you want to, not when the calendar says.
I run perpetuals 95% of the time. Dated contracts come out for specific basis trades or when funding is so negative on perpetuals that the dated contract is mathematically the better long.
If you haven’t traded spot yet, stop here and read the BitGet spot trading guide first. Futures on top of spot inexperience is how accounts vanish.
BitGet futures fees (table)
Fees are where most futures traders quietly bleed. Here are the actual numbers.
Regular and VIP fees
| VIP tier | 30-day volume (USDT) | Maker | Taker |
|---|---|---|---|
| Regular | < $5M | 0.020% | 0.060% |
| VIP 1 | $5M | 0.018% | 0.055% |
| VIP 2 | $20M | 0.016% | 0.050% |
| VIP 3 | $100M | 0.014% | 0.045% |
| VIP 4 | $200M | 0.012% | 0.040% |
| VIP 5 | $400M | 0.010% | 0.035% |
Hold and burn BGB for fees and you get an additional 20% off across the board. So a regular-tier maker effectively pays 0.016%, and a VIP 3 maker pays 0.011%. That’s institutional pricing.
What the fees actually cost you
A round-trip trade on $1,000 of notional at regular tier:
– Market entry (taker): $0.60
– Market exit (taker): $0.60
– Total: $1.20 per round trip on $1,000.
Sounds tiny. But scale that up:
– Trading $10,000 notional with 10x leverage on $1,000 collateral: $12 round trip.
– Doing 20 round trips a week: $240 a week, $12,480 a year.
That’s before slippage and before funding. Fees are not a rounding error if you’re an active trader. Use limit orders (maker fees) when you can, market orders only when you have to.
Full breakdown in the BitGet trading fees post. Compare against the rate Binance charges in the BitGet vs Binance comparison if you’re shopping platforms.
Leverage explained (1x to 125x with liquidation examples)
Leverage is borrowed money. You post a fraction of the position size as margin, the exchange fronts the rest, and your profit or loss is calculated on the full position.
Here’s what that means in real numbers.
What leverage does to your position
You have $1,000 of USDT in your futures wallet. You go long BTC at $60,000.
| Leverage | Position size | Margin required | 1% price move = | Account impact |
|---|---|---|---|---|
| 1x | $1,000 | $1,000 | ±$10 | ±1% |
| 5x | $5,000 | $1,000 | ±$50 | ±5% |
| 10x | $10,000 | $1,000 | ±$100 | ±10% |
| 20x | $20,000 | $1,000 | ±$200 | ±20% |
| 50x | $50,000 | $1,000 | ±$500 | ±50% |
| 100x | $100,000 | $1,000 | ±$1,000 | ±100% — liquidated |
| 125x | $125,000 | $1,000 | ±$1,250 | wiped before the 1% mark |
At 100x, a 1% move against you takes your entire margin. The market regularly moves 1% during a coffee break. At 125x, a 0.8% move against you wipes you. Bitcoin can move 0.8% on a single tweet.
Liquidation examples
Liquidation doesn’t happen at 100% loss — it happens at maintenance margin, which on BitGet is usually around 0.5% of notional. So the actual liquidation point is a fraction earlier than the raw maths suggests.
A long at $60,000 with isolated margin:
| Leverage | Approx liquidation price | Move from entry |
|---|---|---|
| 2x | $30,300 | -49.5% |
| 5x | $48,300 | -19.5% |
| 10x | $54,300 | -9.5% |
| 20x | $57,300 | -4.5% |
| 50x | $58,800 | -2.0% |
| 100x | $59,400 | -1.0% |
| 125x | $59,500 | -0.8% |
Those numbers are approximate — exact liquidation depends on the tier of margin you’re at and funding accrued. But they’re close enough to make the point.
What I actually use
For directional swing trades I use 3x to 5x. For scalps with a tight stop, I’ll go up to 10x. I don’t touch anything above 20x and I haven’t for over four years.
Pro traders use lower leverage than beginners. That’s the opposite of what most YouTube thumbnails suggest, and it’s why pro traders are still trading.
Detailed walkthrough in the BitGet leverage explained post.
Funding rates — how they work and what they cost you
Funding is the mechanism that keeps perpetual prices anchored to spot. Without funding, a perpetual could drift wildly above or below the spot price.
How funding works
Every 8 hours (00:00, 08:00, and 16:00 UTC on BitGet), longs and shorts exchange a funding payment.
- If the perpetual is trading above spot, the market is bullish — longs pay shorts.
- If the perpetual is trading below spot, the market is bearish — shorts pay longs.
The rate is calculated as a percentage of position size and ranges from -0.75% to +0.75% per 8 hours in the most extreme cases. Most of the time it sits between -0.01% and +0.05%.
What funding actually costs
A 0.01% funding rate on a $10,000 long position is $1 per funding window, or $3 per day, or $90 per month.
A 0.05% funding rate on the same position is $5 per window, $15 per day, $450 per month. That’s 4.5% of your position size eaten by funding in a month.
In hot bull markets, BTC funding has hit 0.1% to 0.3% per window on some exchanges. At 0.3%, a $10,000 long pays $9 every 8 hours, $27 per day, $810 per month. You’d need the underlying to move up roughly 8% just to break even on funding alone.
When funding is your enemy
The trap most beginners walk into: opening a long during peak euphoria and paying through the nose for funding while the market chops sideways. The trade thesis was right (price is broadly up), but funding bled the position to death.
When funding is your friend
Negative funding means the market is paying you to hold a long. During panic sell-offs, funding regularly goes deeply negative on perpetuals, and you can earn 0.05%+ per 8 hours just for holding a contrarian long. Pro traders run “delta-neutral” strategies where they’re long perpetual and short spot, capturing funding with no directional exposure.
How to check funding before entering
On BitGet, the funding rate and next funding time are displayed at the top of the trading interface for every perpetual. If funding is above 0.03%, factor it into your trade thesis. If you’re planning to hold for more than a few hours, calculate the daily cost.
Funding eats more accounts than people realise. It’s the silent killer.
Cross vs isolated margin
This is the single most important setting on a futures position. Get it wrong and you lose your whole wallet instead of just the position.
Isolated margin
Isolated margin means only the margin you assigned to that specific position is at risk. If the trade goes to zero, you lose the isolated margin and nothing else. The rest of your futures wallet is untouched.
This is the default I recommend for every beginner. Every single trade. No exceptions.
Cross margin
Cross margin pulls collateral from your entire futures wallet to keep a losing position alive. If you have $10,000 in your wallet and a losing position would normally be liquidated at the margin you assigned, cross margin uses the rest of your wallet to extend the liquidation price.
That sounds great until you realise that one losing position with cross margin can wipe your entire futures wallet in a single move. People have lost six-figure accounts to one bad cross-margin trade.
When cross margin is actually useful
There’s one legitimate use case: hedging multiple positions. If you’re long one pair and short another correlated pair, cross margin lets the gains on one offset the losses on the other without needing manual margin top-ups.
If you’re not running a multi-position hedge, use isolated margin. Always.
How to switch on BitGet
In the trading interface, click the leverage button at the top right of the trading panel. A pop-up lets you toggle between isolated and cross, and set the leverage level. Set it before you open the trade, because changing margin mode on an open position can have weird effects.
More detail in the BitGet margin trading post.
How to place your first futures trade (step-by-step)
This is the boring but critical bit. Run through this slowly the first time.
-
Fund your futures wallet. From your spot wallet, transfer USDT into the futures (USDT-M) wallet using the internal transfer button. The transfer is instant and free.
-
Pick a pair. Start with BTCUSDT or ETHUSDT. Liquid markets, tight spreads, predictable behaviour. Don’t pick a thin alt for your first trade.
-
Set margin mode and leverage. Click the leverage button. Pick isolated margin. Set leverage to 3x or lower for your first trade. Resist the dopamine pull of higher numbers.
-
Choose your direction. Long if you think price goes up, short if you think it goes down. Have a thesis. “Price feels like it’s going up” is not a thesis.
-
Choose your order type. Limit order for better fees and a chosen entry price. Market order for immediate execution at the best available price. Use limit unless you’re chasing a fast move.
-
Set position size. Enter the amount of USDT you want to commit as margin. Don’t max out the slider. Start with 1% to 2% of your futures wallet on a single trade.
-
Set your stop loss BEFORE you confirm. BitGet lets you attach a stop loss and take profit to the order at entry. Use this feature. Set the stop where your trade thesis is invalidated, not at an arbitrary percentage.
-
Confirm. Review the entry price, leverage, position size, stop loss, take profit. Hit confirm.
-
Walk away from the screen. This is the rule I broke for the first two years. Staring at a chart doesn’t make the trade work. Set the stop, set the target, walk.
-
Review after the trade. Win or lose, write down: what was the thesis, did it play out, what would I do differently? Two minutes per trade. Compounds into a real edge over months.
Mobile interface walkthrough is in the BitGet app walkthrough post if you’d rather trade from your phone.
Stop loss, take profit, trailing stop
These three order types do most of the work of keeping you in the game.
Stop loss
A stop loss closes your position automatically if price hits a level against you. On BitGet you can attach it to the entry order, or add it any time the position is open.
The mistake beginners make: setting the stop loss “too tight” so they don’t lose much, then watching the price flick to their stop and reverse straight back. That’s not the stop loss being wrong, that’s the stop loss being in an obvious spot.
Place stops beyond obvious technical levels (below the recent low for a long, above the recent high for a short) with a buffer. If price gets there, your thesis is wrong — exit and reassess.
Take profit
Take profit closes your position automatically at a profit target. Useful because most traders are bad at taking profit — they ride winners too long and turn them into losers.
I usually scale out: 50% of the position at the first target, 50% at a second target, or let the second half run with a trailing stop.
Trailing stop
A trailing stop moves with the price as the trade works in your favour, locking in profit but giving the trade room to run. On BitGet you set a callback rate — for example, 2%. The stop trails 2% behind the highest price reached. If price reverses by 2%, the position closes.
Trailing stops are good for trend continuation trades where you don’t know where the move ends but you want to capture most of it. Bad for choppy markets where the trail gets hit on minor pullbacks.
Full breakdown of order types in the BitGet order types post.
Liquidation — how it triggers and how to avoid it
Liquidation is when your position is forcibly closed by the exchange because your margin can no longer cover the loss. It is not the same as losing 100% of your margin — it happens slightly earlier, at the maintenance margin threshold.
How liquidation triggers
Every position has a liquidation price. As soon as the market touches that price, the exchange’s liquidation engine closes the position. You get back whatever’s left after maintenance margin and a small liquidation fee — usually nothing.
The liquidation price is visible on every position in the BitGet interface. Look at it. If your liquidation price is closer to current price than your stop loss, you’ve sized too aggressively or set the stop too loose.
How to avoid it
Four rules I follow without exception:
One. Always set a stop loss above your liquidation price. The stop loss closes the trade at a controlled price. Liquidation closes it at the worst possible price, with extra fees. Stop loss every single time.
Two. Don’t use cross margin on a single position. As covered above, cross margin lets one bad trade wipe your whole wallet.
Three. Watch your liquidation price drift. Funding payments and additional margin requirements shift the liquidation price over time. Check it daily on long-held positions.
Four. Don’t double down. Adding margin to a losing position to push the liquidation price further away is gambling, not trading. If the thesis is broken, close the trade.
What happens when you get liquidated
Position closes at market. You lose your isolated margin (or the chunk of your cross-margin wallet the engine ate). You pay a liquidation fee, usually 0.5% of position size. You receive whatever scraps are left — sometimes a few cents, often nothing.
Liquidation is also a record on your account — too many in a short period and BitGet may temporarily limit your leverage caps. The system is trying to protect you. Let it.
Risk management rules I follow
These are the rules that kept me trading through 2022 when most retail futures accounts vanished. Boring, repetitive, non-negotiable.
One. 1% to 2% risk per trade
The amount I’m willing to lose on a single trade is no more than 1% to 2% of my futures wallet. That’s the worst-case from entry to stop. Not the position size — the actual potential loss.
If my wallet is $10,000 and I’m willing to risk $200, and my stop is 2% below entry, my position size is $10,000 (not my whole wallet). At 5x leverage that uses $2,000 of margin. That ratio keeps me in the game.
Two. No more than three open positions at once
Crypto correlates hard during sell-offs. Five “different” trades during a flush are five versions of the same trade. Three positions max keeps the portfolio focused and the brain calm.
Three. No trades during major news
CPI release, Fed announcement, Bitcoin ETF decisions. The chart goes feral for 15 minutes. I close active trades 30 minutes before and re-enter after the dust settles if the setup is still valid.
Four. No revenge trades
Lose a trade, take a 20-minute break. No exceptions. Revenge trades are how a losing day becomes a losing week.
Five. Weekly profit cap
When I’m up by a chunk for the week (say, 5% on my futures wallet), I dial back position sizing for the rest of the week. Protecting a winning week is more valuable than chasing a bigger one.
Six. Journal every trade
Two minutes per trade. Entry, exit, thesis, outcome, what I’d do differently. Six months of journals reveal patterns no amount of YouTube content will.
That’s the playbook. Boring, repetitive, profitable.
Ready to trade futures the right way?
BitGet has the deepest futures liquidity I’ve used. Sign-up takes 90 seconds and the futures wallet is one click from spot.
Affiliate link. I may earn a commission at no extra cost to you.
Futures bots overview
If you don’t want to babysit charts, BitGet has a native futures bot suite that runs strategies for you. Quick rundown.
Futures grid bot
Sets buy and sell orders at regular intervals inside a price range. When price hits a grid level, the bot buys; when it climbs, the bot sells. Profits in chop, loses in strong trends.
Works on perpetuals with leverage. The leverage is what makes the grid more capital-efficient than spot grid — but also more dangerous if the price breaks the range. Always set a stop loss range that closes the bot if price exits the band.
Trend following bot
Uses a momentum signal to flip between long and short. Catches trends, gets whipsawed in chop. Useful in clear directional markets, dangerous in range-bound conditions.
DCA bot (futures)
Buys into a position in tranches as price moves against you. Sounds like averaging in — actually closer to a Martingale in disguise. Position size grows fast if price keeps moving against you. I avoid this on futures because liquidation risk compounds with each tranche.
AI bot
BitGet has a closed-source AI bot offering. I’ve tested it on a small allocation. The results were mid — slightly better than buy-and-hold during one stretch, worse during another. I wouldn’t allocate serious capital until they publish clearer backtest data.
Detailed strategies and settings in the crypto trading bots guide. For spot bots (lower risk, easier to manage), see the BitGet spot grid bot walkthrough.
What I do with my long-term bag
Trading futures doesn’t mean keeping everything on the exchange. The split I run:
- Trading float on BitGet: sized to what I can lose without losing sleep. This is the capital I trade futures with.
- Mid-term hold in BitGet Earn: flexible savings on stables and majors, withdrawable in minutes.
- Long-term bag on a Ledger Nano X: the bulk of my crypto net worth, off any exchange, on hardware.
The single biggest mistake retail traders make is treating an exchange as a vault. It is a trading venue. Profit out, accumulate the long-term bag in cold storage, repeat.
If you don’t have a hardware wallet yet, how to store crypto safely covers the full playbook. The Ledger Nano X review is the device I actually use. Both are non-negotiable once you’ve got a meaningful position.
Start with spot before futures.
If you’ve never traded perpetuals, open the account, do twenty spot trades, then come back to futures. That’s the order I’d run if I were starting again.
Affiliate link.
Frequently asked questions
What is a USDT-M perpetual contract?
A USDT-M perpetual is a futures contract margined and settled in USDT with no expiry date. You can hold the position indefinitely. Funding payments every 8 hours keep the contract price aligned with spot.
How much money do I need to start trading BitGet futures?
There’s no fixed minimum but realistically you need at least $100 to size positions sensibly. Below that, fees and minimum order sizes eat too much of the trade. $500 to $1,000 is a more practical starting bankroll.
What is the maximum leverage on BitGet futures?
125x on BTC and ETH USDT-M perpetuals. Mid-cap pairs cap at 20x to 50x. Newly listed pairs typically cap at 5x or 10x for the first few weeks.
How are BitGet futures fees calculated?
Maker fees start at 0.020% and taker at 0.060% on the regular tier. Both drop with VIP volume. Holding and burning BGB gives an additional 20% discount. Fees are charged on the full notional position size, not the margin.
What is the funding rate on BitGet?
Funding is paid every 8 hours at 00:00, 08:00, and 16:00 UTC. The rate is shown on the trading interface and varies by pair and market conditions. Typical range is -0.01% to +0.05% per window. Longs pay shorts when positive, shorts pay longs when negative.
Can I get liquidated on BitGet futures?
Yes. Liquidation triggers when your margin drops below the maintenance threshold. With isolated margin, you lose only the margin assigned to the position. With cross margin, your entire futures wallet is at risk.
What’s the difference between USDT-M and Coin-M on BitGet?
USDT-M is margined and settled in USDT, with predictable account size denominated in dollars. Coin-M is margined and settled in the underlying coin, which means your collateral fluctuates with the coin price. Most retail traders should use USDT-M.
Final word
Futures trading on BitGet is one of the best products in crypto for traders who know what they’re doing, and one of the fastest ways to lose money for traders who don’t. The difference is not intelligence. It’s discipline.
The traders I know who make money on perpetuals year after year all do the same boring things: low leverage, stops on every trade, risk capped at 1% to 2% per position, no revenge trades, journal everything.
The ones who blow up all do the same exciting things: 50x leverage, no stops, doubling down on losers, chasing every move, treating the chart like a slot machine.
You get to pick which group you’re in.
Right — over to you.
Related posts
- BitGet Review: The Crypto Exchange I Actually Use
- BitGet Spot Trading: Complete Guide
- BitGet vs Binance: Side-by-Side Comparison