The first time I lost crypto in a wallet I’d set up myself, I wasn’t hacked. I just couldn’t find the seed phrase. It was in a notebook in a drawer, in a flat I’d moved out of two months earlier. The money was gone the moment I forgot where I wrote it down.
That’s the trade-off with self-custody wallets like BitGet Wallet. You own the keys. Nobody can freeze your account. Nobody can confiscate your funds. And if you mess up the setup, nobody can save you either. This guide is the version of the wallet setup I wish I’d read before I started moving real money through Web3.
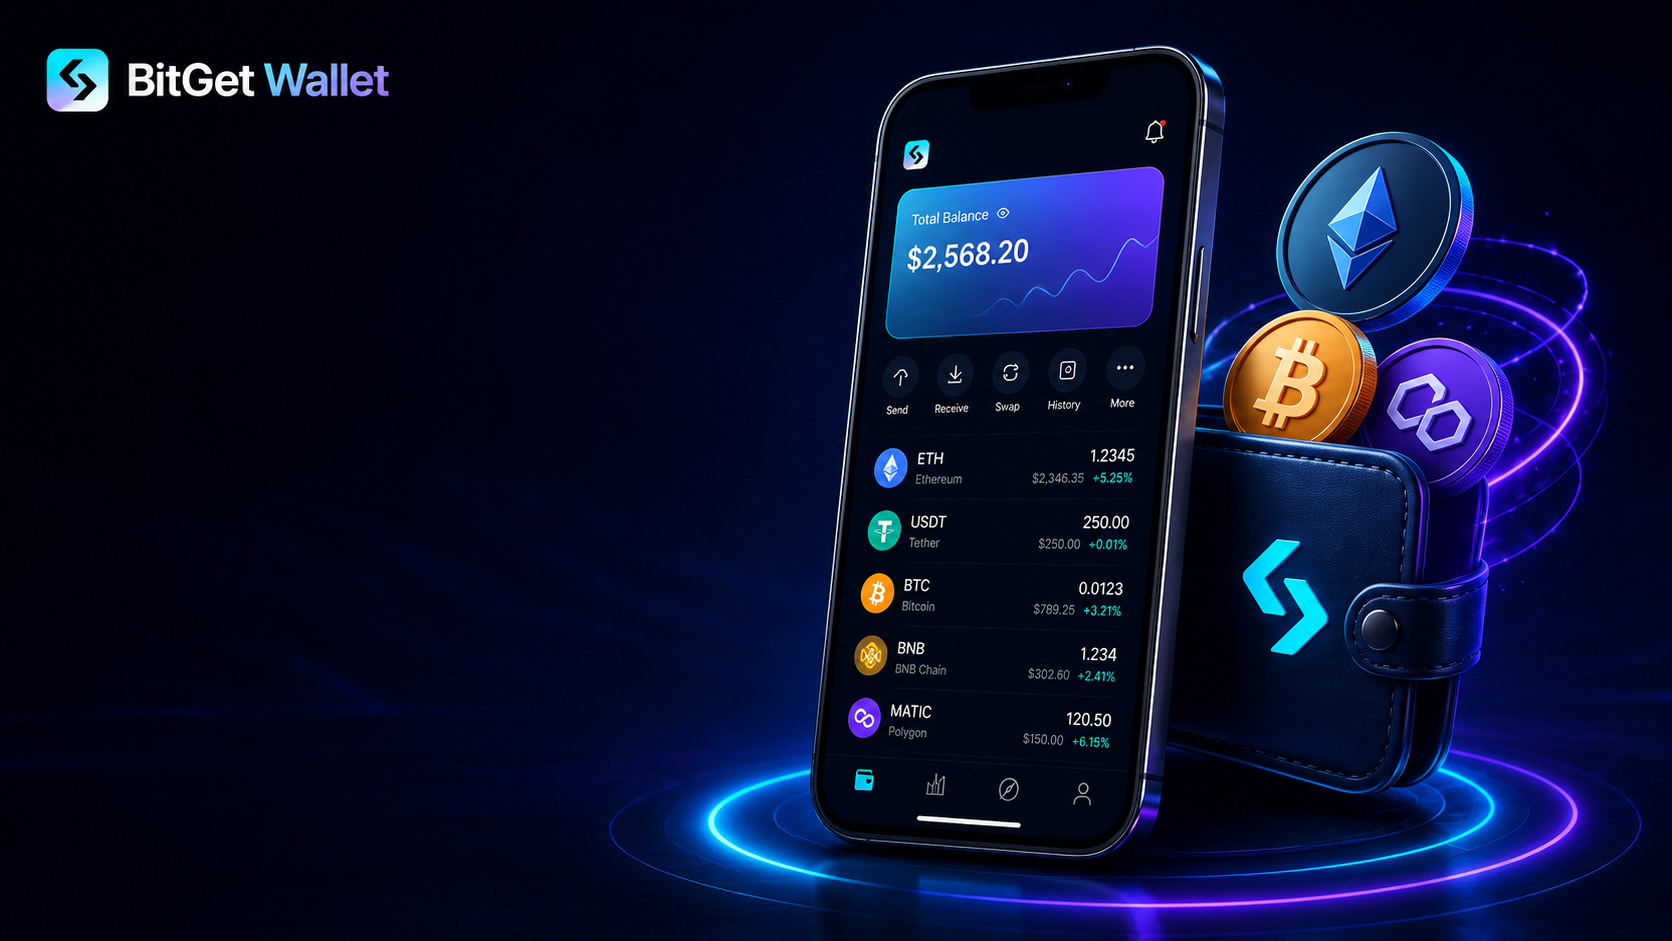
Short answer: BitGet Wallet (formerly BitKeep) is a self-custody Web3 wallet supporting 90+ blockchains, in-wallet token swaps, dApp connections, and NFT storage. It is a separate product from your BitGet exchange account, with a separate seed phrase you control alone. Setup takes five minutes. Free to download on iOS, Android, and as a browser extension. The wallet handles DeFi, NFTs, and multi-chain swaps in one place. For long-term storage, pair it with a hardware wallet.
Open a BitGet account → (affiliate) — exchange and wallet are separate products under the same brand.
Key takeaways
- BitGet Wallet is self-custody — your seed phrase controls the funds, not BitGet. Lose the phrase, lose the money.
- Supports 90+ chains including Ethereum, BNB Chain, Solana, Polygon, Arbitrum, Base, Tron, and most major L2s.
- In-wallet swap aggregator routes through DEXs across multiple chains in one transaction.
- Connects to dApps via WalletConnect — works with Uniswap, OpenSea, Aave, and thousands of others.
- For balances above a few thousand dollars, the right pattern is to pair the wallet with a Ledger for cold storage of long-term holdings.
What BitGet Wallet is
BitGet Wallet is a self-custody, multi-chain Web3 wallet. It started as BitKeep in 2018, was acquired and rebranded by BitGet in 2023, and is now one of the larger Web3 wallets by user count — over 25 million users globally at the time of writing, putting it in the same league as MetaMask and Trust Wallet.
“Self-custody” means there is no account, no email, no password reset. The wallet is generated locally on your device. The 12-word seed phrase that gets created at setup is the only way to recover the wallet. Lose the phrase, lose the funds. There is no support ticket that fixes this.
The wallet is free. There’s no subscription, no monthly fee, no premium tier. BitGet makes money on the swap aggregator (small markup on routes), the dApp marketplace (partner fees), and on the broader funnel from Web3 users back into the BitGet exchange.
You can download BitGet Wallet from the official BitGet Wallet site, or as a browser extension from Chrome and Firefox web stores. Always download from official sources — there are fake BitGet Wallet extensions on the Chrome store that are pure phishing.
BitGet Wallet vs BitGet Exchange account — the critical distinction
This trips people up constantly. They are different products with different security models.
| BitGet Exchange Account | BitGet Wallet (Web3) | |
|---|---|---|
| Custody | BitGet holds keys for you | You hold keys |
| Account recovery | Email + 2FA | Seed phrase only |
| KYC required | Yes (for full functionality) | No |
| Funds insured / protected | $400M+ Protection Fund | Nothing |
| What you trade | Spot, futures, leverage | DEX swaps, on-chain assets |
| dApp access | No | Yes |
| Lose your password | Reset via email | Lose your wallet (unless seed is backed up) |
| Lose your seed phrase | N/A | Lose your wallet |
The exchange account is what you’d compare to Coinbase or Binance. The wallet is what you’d compare to MetaMask or Trust.
They share the BitGet brand. They share some UX patterns. They do not share funds. If you deposit USDT to your BitGet exchange account, it does not show up in BitGet Wallet. If you deposit USDT into BitGet Wallet on the BNB Chain, it does not show up in your exchange.
You can move funds between them — withdraw from exchange to your wallet address, or deposit from wallet by sending to your exchange deposit address — but these are on-chain transactions, with network fees and the usual risk of selecting the wrong network.
For a deeper look at the exchange side, the BitGet review covers the full platform. For self-custody more broadly, hot vs cold wallet and crypto wallets explained cover the foundations.
Setup walkthrough — the bits that matter
The official setup wizard is fine. The bits the wizard underplays are where mistakes happen.
Step 1: Download from the right place
Search for “BitGet Wallet” in Google and look at the URL before you click. Official URLs are web3.bitget.com and the listing in the App Store / Google Play under the developer name “Bitget Limited”. The Chrome extension is published by the same developer.
Fake versions exist. There is a long history of fake MetaMask, fake Trust, and fake BitGet Wallet extensions that look identical and drain your seed phrase the moment you enter it. Check the developer name. Check the download count. If the listing has less than 50,000 installs, it’s probably not the real one.
Step 2: Create a new wallet (don’t import an existing one)
If you’re new to crypto, hit “Create new wallet”. This generates a fresh seed phrase locally on your device.
If you’re importing a wallet from MetaMask or Trust — pause and think about why. Importing the same seed into multiple wallets is fine cryptographically but it means a compromise of any one of those wallets compromises all of them. I prefer separate seeds per app.
Step 3: Write down the seed phrase. By hand. On paper.
This is the step everyone messes up.
The wallet shows you 12 (or sometimes 24) words. These words, in order, are the master key. With these words, anyone can recreate your wallet on any device and move every asset in it.
What to do:
- Write the words by hand on paper, in order, with the number next to each.
- Do it twice. Two copies, two locations.
- Do not screenshot it.
- Do not type it into a note app.
- Do not photograph it.
- Do not store it in iCloud, Google Drive, Dropbox, or any other cloud service.
- Do not paste it into an AI chat to “check the spelling”.
The reason: phones get compromised. Cloud accounts get breached. AI chats get logged. The seed phrase needs to live somewhere that is not connected to the internet. Paper, in two physical locations, is the simplest correct answer.
If you want the more thorough version, seed phrase storage goes through metal backup plates, Shamir splits, and the rest.
Step 4: Verify the phrase
The wallet will ask you to confirm the phrase by selecting the words back in order. Take your time. If you get it wrong, do it again — there’s no penalty.
Step 5: Set a wallet password
This is a local password that unlocks the app on this device. It is not the same as the seed phrase. The password protects against someone picking up your unlocked phone — the seed phrase is what recovers the wallet if you lose the phone entirely.
Use a strong password. Don’t reuse one from another service.
Step 6: Enable biometric unlock (optional)
Face ID or fingerprint unlock is convenient and not a security downgrade — biometrics on modern phones are stored on a secure enclave that the OS can’t read. The thing that matters is the seed phrase backup, not the daily unlock method.
That’s setup. Total time: about five minutes if you’ve already written down the seed phrase. Don’t rush the seed phrase.
Supported chains (50+ at last count, growing)
BitGet Wallet supports more chains than almost any competitor. As of the last update I checked, the list included:
- EVM chains: Ethereum, BNB Chain, Polygon, Arbitrum, Optimism, Base, Avalanche, Fantom, Linea, Scroll, zkSync Era, Mantle, Blast, and more.
- Non-EVM: Solana, Tron, Bitcoin (native), TON, Aptos, Sui, Cosmos, Near, Cardano, Polkadot.
- L2s and rollups: most major Ethereum L2s.
If you’ve come from MetaMask, you’ll notice the BitGet Wallet handles non-EVM chains natively without needing separate wallets for Solana, Tron, or Bitcoin. That’s the main user-experience improvement over MetaMask.
The chain list updates frequently. The official supported chains page has the current list. New L2s and major launches typically get added within weeks.
How to swap inside the wallet
The in-wallet swap is one of the better aggregators I’ve used. It routes across multiple DEXs (Uniswap, PancakeSwap, Jupiter, Raydium, others depending on chain) and gives you the best available price minus a small fee.
How it works
- Open the wallet, tap “Swap”.
- Select the token you want to sell, and the token you want to buy. You can swap across chains in some cases (cross-chain bridge built in).
- Enter the amount.
- The aggregator quotes you a route, an expected output, and a slippage estimate.
- Confirm and sign the transaction.
Fees
BitGet Wallet charges a small platform fee on swaps, typically 0.1–0.5% depending on the route. This sits on top of the underlying DEX fees (0.3% on Uniswap V2, variable on V3) and the network gas fee for the chain you’re swapping on.
On a typical Ethereum mainnet swap of $1,000, you might see:
- DEX fee: $3.00
- BitGet platform fee: $1.00–$5.00
- Gas fee: $2–$25 depending on network congestion
So total fees can range from $6 to $30+ on Ethereum. On Base, Polygon, or BNB Chain, gas is closer to $0.10–$0.50.
Slippage settings
The default slippage tolerance is 1%. For thin-liquidity tokens, you might need to raise this to get the swap to complete. Raising it too high invites sandwich attacks where a bot front-runs your trade and back-runs it after, pocketing the difference. Anything above 3% on a major chain is asking for trouble.
If you’re swapping a large amount on a thin token, break it into smaller swaps. The cost in extra gas is often less than the slippage cost on one big swap.
Connecting to dApps
This is the wallet’s main job — being the signing key for everything you do on Web3.
The connection flow uses WalletConnect, the de facto standard for wallet-to-dApp links. The dApp shows you a QR code (or a “connect wallet” button on mobile), you scan it (or tap “BitGet Wallet” in the dApp’s wallet list), and the wallet asks you to approve the connection.
Once connected, the dApp can:
- Read your wallet address (always).
- Read your token balances on the chain you’re connected to.
- Request your signature for specific transactions you initiate.
Crucially, the dApp cannot move funds without your signature on each transaction. Every time it asks for a signature, the wallet pops up showing you what you’re signing. You have to actively approve. The dApp cannot drain the wallet silently.
The exception — and the reason most Web3 hacks happen — is when you approve a malicious contract that has unlimited spending permission on a token. More on that below.
Disconnecting from dApps
The wallet keeps a list of currently-connected dApps under Settings → WalletConnect. Disconnect anything you’re not actively using. The connection itself can’t drain you, but it’s good hygiene.
The dApp drain attack (and how to avoid it)
The single biggest risk in Web3 isn’t a wallet hack. It’s a malicious dApp tricking you into signing a transaction that grants infinite spending permission on your tokens.
Here’s how it works.
You connect your wallet to a website that looks legitimate — maybe a fake Uniswap, maybe a “claim your airdrop” page, maybe a phishing link from a hacked Twitter account. The site asks you to sign a transaction. The transaction looks innocuous in the wallet UI — maybe a “swap” or an “approve”. You sign.
What you actually approved was a contract approval letting an attacker’s address spend an unlimited amount of one of your tokens. They wait until you have a balance, then drain it on their schedule.
How to defend against it
Read every signature request. When the wallet pops up asking you to sign, look at the contract address, the function being called, and the spending limit. If you don’t understand what you’re signing, do not sign.
Set spending limits manually. When approving a token for use on a dApp, the wallet lets you set a maximum amount. Set it to the amount you’re actually using, not “unlimited”. Yes, this means you’ll have to approve again next time. That’s the point.
Use a separate “DeFi wallet” with a small balance. Don’t connect your main wallet to random new dApps. Keep a small wallet (separate seed) for exploring new projects and a main wallet for assets you actually care about.
Revoke old approvals. Periodically visit Revoke.cash or the equivalent on your chain and revoke approvals you no longer need.
Use NordVPN on public networks. When you’re connecting wallets to dApps from a café or hotel, the network you’re on can see metadata about your activity even if it can’t see your seed phrase. A VPN doesn’t protect you from a malicious dApp but it does close off the “someone is watching you sign” attack on a public network. I use NordVPN (affiliate) on every device I do anything on-chain from.
For the broader picture on how people get drained, the crypto scams guide catalogues the patterns.
NordVPN and Web3 privacy
This is worth flagging on its own.
Web3 wallets are pseudonymous, not anonymous. Every transaction is on a public chain. Anyone can look at your wallet address and see what you hold, what you’ve traded, what NFTs you own, which dApps you’ve used.
What a VPN does is break the link between your IP address and your wallet activity at the network level. Without a VPN, your ISP sees you connecting to dApps, RPC nodes, and on-chain data services. With a VPN, that link is masked.
I’m not paranoid about this for normal use. I use a VPN because:
- I trade on public WiFi sometimes and the basic network hygiene matters.
- I prefer my ISP not building a profile of which dApps and exchanges I use.
- If I’m connecting to a wallet from a country with crypto restrictions, geo-routing matters.
NordVPN (affiliate) is what I pay for. Cheap, works on phone and laptop, fast enough that I forget it’s on. There are other options. The point is using something, not the specific brand.
BitGet Wallet vs MetaMask vs Trust Wallet
The three big self-custody wallets. Here’s the head-to-head.
| BitGet Wallet | MetaMask | Trust Wallet | |
|---|---|---|---|
| Chains supported | 90+ (EVM + non-EVM native) | EVM-focused (Solana via Snap) | 90+ (EVM + non-EVM) |
| In-wallet swap aggregator | Yes (multi-DEX, multi-chain) | Yes (limited) | Yes |
| Browser extension | Yes | Yes (the original) | Limited |
| Mobile app | Yes | Yes | Yes |
| NFT support | Yes (multi-chain) | Yes (Ethereum-focused) | Yes |
| Bitcoin native support | Yes | No (only wrapped) | Yes |
| Solana native support | Yes | Via Snap | Yes |
| Ledger integration | Yes | Yes (the gold standard) | Yes |
| Active users | ~25M | ~30M | ~120M |
| Owned by | BitGet | ConsenSys | Binance |
MetaMask is the standard for EVM DeFi power users and has the largest dApp compatibility. Trust Wallet has the broadest reach but the UX is more basic. BitGet Wallet sits between them — wider chain support than MetaMask, deeper feature set than Trust.
The honest take: if you’re already in the BitGet ecosystem and want one wallet that handles every chain, BitGet Wallet is fine. If you’re deep into EVM DeFi specifically, MetaMask still has the edge on integrations. Trust Wallet is the most casual-friendly of the three.
When to move funds to Ledger (cold storage)
The rule I use: anything I’d be upset to lose lives on a hardware wallet, not a software wallet.
Software wallets like BitGet Wallet are “hot” — the keys are stored on a device that’s connected to the internet. They’re convenient for daily Web3 use, swaps, dApp interactions, and NFT minting. They are not the right place for a long-term bag.
Cold storage means hardware. The keys live on a chip on a USB stick (or similar) that never connects to the internet. When you want to sign a transaction, the unsigned transaction goes onto the device, you confirm physically by pressing a button, and the signed transaction goes back out. The keys never leave the device.
I use a Ledger Nano X — covered in detail in that review. The Ledger pairs with BitGet Wallet, MetaMask, and most other software wallets, so you get the dApp UX of the software wallet with the security of the hardware key.
The threshold to move to a Ledger is personal. My rough rule: if the wallet holds more than a month’s salary, it should be on a Ledger. For a deeper take on the choice, hot vs cold wallet goes through the trade-offs.
Want the cold storage upgrade?
For any balance above a few thousand dollars, a hardware wallet is the right call. Ledger is what I use.
Affiliate link. I may earn a commission at no extra cost to you.
What BitGet Wallet does well
Multi-chain in one app. No more managing five wallets across five chains. One seed, every chain. This is the real upside.
Swap aggregator. Routes across DEXs in the background. For most swaps you get a better price than going directly to a single DEX.
dApp marketplace. The built-in directory of vetted dApps reduces the risk of clicking on a fake link. Doesn’t eliminate it — but it helps.
Integration with BitGet exchange. If you’re already in the BitGet ecosystem, moving funds between the exchange and the wallet is a couple of taps.
Where it falls down
Brand confusion. Many users think the wallet and the exchange share funds. They don’t. This is the single most common support question and it shouldn’t be.
Browser extension footprint. The extension is heavier than MetaMask and has occasionally caused slowness on Chrome. Restarting the browser fixes it but it’s a wart.
Customer support for self-custody. There isn’t any in the traditional sense. The wallet is self-custody — BitGet cannot recover lost seed phrases or reverse fraudulent transactions. The support team can help with UI bugs but not with lost funds. This is true of every self-custody wallet, but new users still expect bank-like support.
Transaction signing UX on complex dApps. The wallet shows you what you’re signing, but on complex contracts the wallet UI can’t always decode the function call. You’re sometimes signing a hex blob with no human-readable description. MetaMask has the same problem. The fix is to only interact with known dApps you trust.
My actual setup
For full transparency, here’s how I use the wallet in practice.
- BitGet Wallet on phone: my “hot” wallet for daily Web3. Holds small amounts, used for dApp connections, NFT minting, casual DeFi.
- BitGet Wallet on laptop (extension): used for desktop DeFi, paired with my Ledger for any transaction over a few hundred dollars.
- Ledger Nano X: holds my long-term bag. Signed via BitGet Wallet on the laptop when I need to interact.
- BitGet exchange account: active trading float and Earn positions.
The funds flow: spot exchange → wallet (when I want to do something on-chain) → back to exchange (when I want to trade). The Ledger is the savings layer that I don’t touch unless I’m rebalancing.
How the wallet fits the broader picture
Self-custody is a skill, not a product. The wallet is a tool. The skill is:
- Knowing what you signed and why.
- Backing up the seed phrase correctly.
- Knowing when to use a hot wallet and when to use cold.
- Knowing which dApps to trust and which to avoid.
If you’re new to this, crypto wallets explained covers the foundations. How to store crypto safely goes through the full self-custody playbook.
If you’d rather learn this with a community than from a blog post, Trade Travel Chill (affiliate) is the community I’m part of. It’s not specifically focused on Web3 wallets — the focus is trading — but the conversations about self-custody, security, and not losing money are some of the best I’ve seen.
Want the exchange side too?
The wallet is self-custody. The exchange is where you trade. Most people use both — exchange for trading, wallet for on-chain.
Affiliate link.
Frequently asked questions
Is BitGet Wallet the same as my BitGet exchange account?
No. They are separate products. The exchange account holds funds custodied by BitGet (recoverable via email and 2FA). The wallet is self-custody — your seed phrase controls the funds and BitGet cannot recover them if lost.
Is BitGet Wallet safe?
The wallet itself is as safe as your seed phrase backup. If you protect the 12-word phrase and don’t sign malicious transactions, the wallet is safe. The most common ways people lose funds are signing malicious dApp transactions and downloading fake versions of the wallet.
Was BitGet Wallet really BitKeep?
Yes. BitKeep was acquired by BitGet in 2023 and rebranded to BitGet Wallet. Existing users were migrated automatically. The underlying product is the same multi-chain Web3 wallet.
How many chains does BitGet Wallet support?
Over 90 chains at time of writing, including all major EVM chains (Ethereum, BNB Chain, Polygon, Arbitrum, Optimism, Base) and non-EVM chains (Solana, Tron, Bitcoin, TON, Aptos, Sui, Cosmos).
What are BitGet Wallet swap fees?
The in-wallet swap charges a small platform fee of 0.1–0.5% on top of the underlying DEX fee and network gas. Total fees vary by chain — under $1 on Polygon or Base, $10–$30 on Ethereum mainnet at busy times.
Can I use BitGet Wallet with a Ledger?
Yes. BitGet Wallet supports hardware wallet integration including Ledger devices. You sign transactions on the Ledger while using the BitGet Wallet UI for dApp interactions.
Is BitGet Wallet available in the US?
Yes. The wallet is self-custody, no KYC, and not subject to the same geo-restrictions as the BitGet exchange. US residents can download and use the wallet freely.
What happens if I lose my BitGet Wallet seed phrase?
If you lose the seed phrase and you’re locked out of the wallet device, the funds are unrecoverable. There is no support ticket that recovers a lost seed phrase. This is true of every self-custody wallet. Back up the phrase in two physical locations and check it annually.
Final word
BitGet Wallet is a solid multi-chain Web3 wallet. The setup takes five minutes if you take your time on the seed phrase. The daily UX for swaps and dApp interactions is among the cleaner ones in the market.
What I’d flag for newcomers: this is not your BitGet exchange account. The two products share a brand and nothing else. Funds in the wallet are your responsibility — the upside is no platform can freeze them, the downside is no platform can recover them either.
What I’d recommend: use the wallet for daily Web3, keep the balance modest, and use a Ledger for anything you’d be upset to lose. The combination of BitGet Wallet for UX and Ledger for cold storage is the setup I run.
Right — over to you.
Related posts
- Ledger Nano X Review: Cold Storage Setup
- Hot vs Cold Wallet: Which Do You Actually Need?
- Seed Phrase Storage: Don’t Lose Your Crypto