The first thing that happens is your stomach drops. You refresh MetaMask and the balance reads zero. You refresh again because surely the RPC node is lying. It isn’t.
I’ve talked three friends through this exact moment in the last two years. The first ten minutes matter more than anything you’ll do later. This is the playbook — what to do right now, what to do tomorrow, and what to do so it never happens again. Some links here are affiliate. I’ll flag them.
Short answer: If your crypto wallet is hacked, act in this order within the first 10 minutes: move any surviving funds to a brand new wallet on a clean device, revoke all token approvals using Revoke.cash, document every transaction hash, then file reports with IC3 (US), Action Fraud (UK), and the exchange the funds flowed into. Recovery is rare — under 1% of stolen crypto is ever returned — so the priority is stopping further bleeding and locking down accounts that share credentials.
Move long-term holdings to a Ledger → (affiliate)
Key takeaways
- Chainalysis tracked over $2.2 billion in stolen crypto in their most recent annual Crypto Crime Report — most of it never recovered.
- The first 10 minutes after detection are the highest-leverage window. After that, the funds are usually gone for good.
- “Recovery services” that DM you offering to get your crypto back are themselves scams. Every single one.
- A hardware wallet plus app-based 2FA blocks roughly 90% of the attack patterns that drain hot wallets.
- Even after a hack, document everything — for tax loss deductions, for insurance claims, and for any future criminal case.
First 10 minutes (the emergency triage)
Stop. Breathe. Do not start clicking around the compromised wallet trying to “see what happened.” Every action you take inside that wallet risks signing another malicious transaction if the device or browser is still compromised.
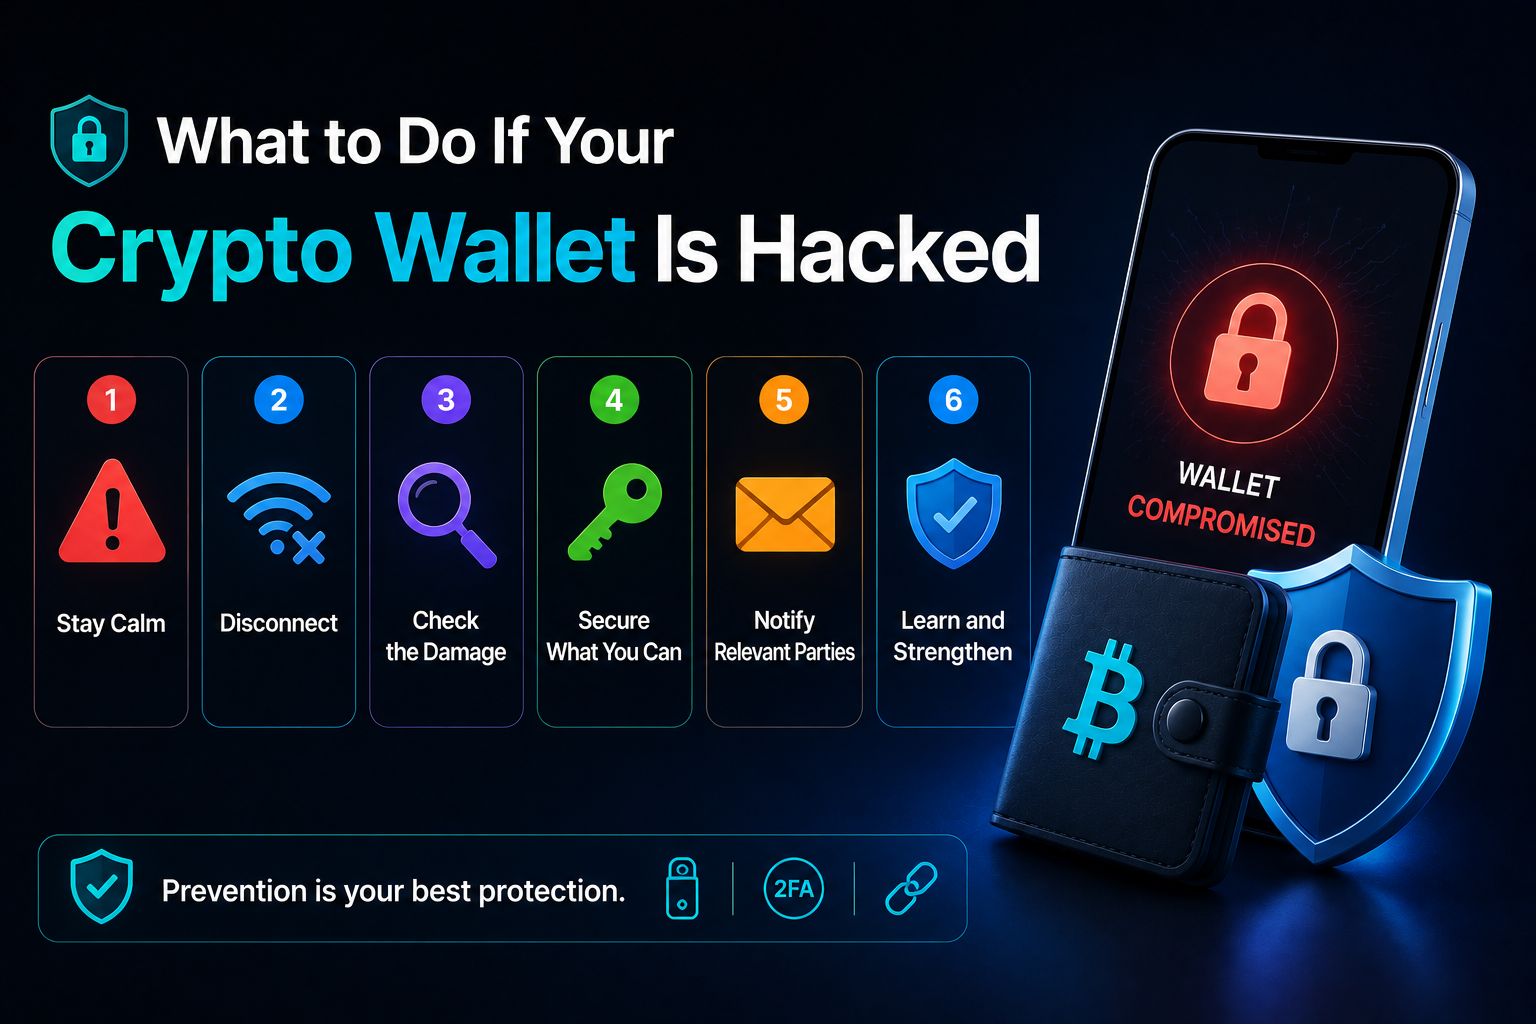
Here is the order of operations.
Step 1: Cut the device off the internet
Pull the WiFi. Turn off mobile data. If the attacker is mid-session draining the wallet, you cut their connection too. This buys seconds, sometimes minutes.
Step 2: Move to a clean device
If you have a second laptop, phone, or tablet that has never touched the compromised wallet, use it. If you don’t, use a friend’s. The compromised machine is suspect until proven otherwise — keyloggers, clipboard hijackers, and remote access trojans are all common attack vectors.
Step 3: Check what’s left
On the clean device, open a block explorer (Etherscan, BSCScan, Tronscan, Solscan) and paste your wallet address. Look at the most recent transactions. You’ll see what was drained and what survived. NFTs and staked positions often survive the first drain because the attacker scripts go for the liquid stuff first.
Step 4: Generate a fresh wallet
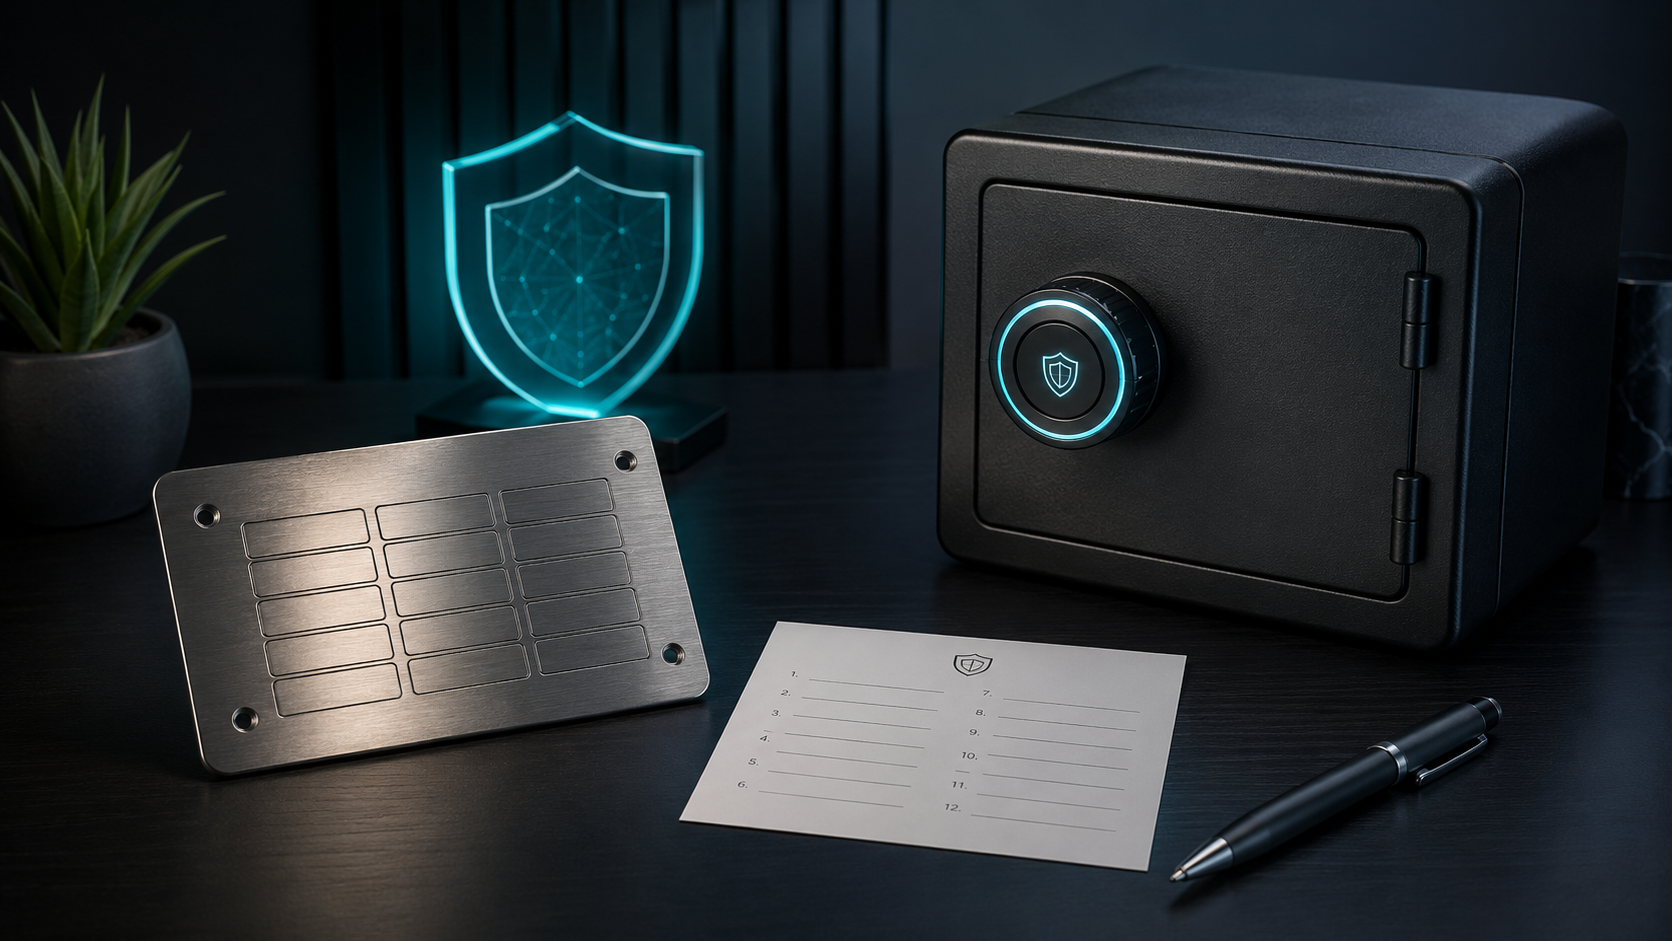
On the clean device, generate a brand new wallet with a brand new seed phrase. Do not use any existing wallet — assume everything that touched the compromised device is compromised too. Write the seed on paper. Do not store it anywhere digital, even temporarily.
That’s the first four minutes. The rest of this post covers what to do next.
Move surviving funds to a fresh wallet
Anything left in the compromised wallet is a hostage. The attacker may have set up an automated sweeper that pulls any incoming funds (gas drops included) within seconds. The attacker may already have unlimited token approvals on contracts the wallet has interacted with.
The order to migrate
Move the highest-value, most-liquid assets first. Then the long-tail.
- Liquid tokens (ETH, BTC, stablecoins). Send to the fresh wallet. Use a private RPC if you can — public RPCs sometimes leak pending transactions to MEV bots, but more importantly to wallet-sweeping bots that watch high-value addresses.
- NFTs. Transfer to the fresh wallet one by one. Some NFT platforms (OpenSea, Blur) have a batch transfer tool — use it.
- Staked positions. If you have tokens locked in a staking contract that you control, unstake to the fresh wallet, not back to the compromised one. If unstaking requires routing through the compromised wallet first, accept the loss — it’s not worth the risk of a sweeper.
- LP positions. Same logic. Withdraw directly to the fresh wallet where possible.
Gas fee problem
The compromised wallet may have a sweeper script watching for incoming gas drops. If you send ETH to pay for the migration, the sweeper takes it before you can move anything else.
The defence: flashbots private bundles. You bundle a “fund the wallet” transaction with the “move funds out” transaction into a single block. The sweeper never gets a chance to see the gas drop in the public mempool. Tools like Flashbots Protect handle this. It’s clunky for non-developers but it works.
Revoke malicious dApp approvals (Revoke.cash walkthrough)
This is the step almost everyone skips and almost everyone needs.
When you connect to a dApp and click “Approve”, you’re giving a smart contract permission to spend your tokens. Sometimes for a fixed amount. Often for unlimited. If a malicious contract has an unlimited approval on your wallet, it can keep draining any tokens you receive — forever, until you revoke.
The walkthrough
- Go to revoke.cash. It’s the standard tool. Open source, audited, used by every security researcher I follow.
- Connect the compromised wallet (read-only is fine — you don’t need to sign anything yet).
- Switch to each chain the wallet has used (Ethereum, BSC, Polygon, Arbitrum, Optimism, Base, etc.) and review the active approvals.
- Sort by token. For any approval to a contract you don’t recognise or don’t trust, revoke it.
- Pay particular attention to unlimited approvals. Set them all to zero.
Revoking each approval costs gas. On Ethereum mainnet during peak congestion this can run to tens of dollars per approval. If the wallet has dozens of approvals, the bill adds up. Do the highest-risk ones first.
What to revoke first
- Any approval to a contract you don’t recognise
- Any approval to a contract older than 6 months you no longer use
- Any unlimited approval on a stablecoin
- Any “Permit2” signature you can’t account for (these are off-chain signatures that the attacker can submit later)
The hot vs cold wallet post covers how to structure your wallets so you never need to do this kind of mass-revoke again.
Document everything for tax + insurance
Once the bleeding has stopped, start the paperwork. The window to claim a loss for tax purposes is short in most jurisdictions, and the records you’ll need are easier to capture in the first 24 hours than 6 months later.
What to capture
- Every transaction hash from the attack. Screenshot Etherscan/your block explorer with the suspect transactions highlighted.
- The attacker’s destination address. Often a single address receives the drain. Sometimes it splits into multiple over a few minutes. Capture them all.
- A timestamp log. When you first noticed, when you took the device offline, when you generated the new wallet, when you revoked approvals.
- Any phishing email, DM, or website you suspect was the vector. Headers if it was email. Screenshots either way.
- Your wallet’s full transaction history. Export it as CSV from the block explorer or from Koinly/CoinTracker if you use a tax tool.
Why this matters
Tax. In the US, the UK, Australia, and most other jurisdictions, theft losses on crypto can sometimes be claimed against capital gains. Rules vary, are restrictive, and have got more restrictive over time. But the deduction only works if you can prove the theft happened, when, and the value lost. Your CSV and screenshots are the proof.
Insurance. Specialised crypto insurance exists (Coincover, Evertas, Nexus Mutual for smart contract exploits) but most retail users aren’t covered. If you are, the claim process requires the same documentation.
Criminal case. If law enforcement ever moves on the attacker (rare, but possible for very large or politically-significant thefts), your filing becomes part of the evidence.
The tax bit is the one to focus on. A clean theft documentation often saves more in taxes than you’d recover from any other route.
Reporting to authorities (IC3, Action Fraud, local police)
Recovery rates are low, but reporting matters for two reasons: it creates the paper trail that makes tax/insurance claims defensible, and it adds to the pattern data that law enforcement uses to bust larger rings.
United States
- FBI IC3 (ic3.gov) is the main federal channel. File an Internet Crime Complaint with every transaction hash and the destination address.
- FTC (reportfraud.ftc.gov) for the consumer fraud register.
- Local FBI field office if the loss is over $100,000 — sometimes they’ll take a meeting.
- State Attorney General if the loss involves a US-based platform or counterparty.
United Kingdom
- Action Fraud (actionfraud.police.uk) is the central reporting body. Online or by phone.
- Local police as well, for the case reference number. Some forces have a cyber unit; most don’t.
Other jurisdictions
Most countries have a national cyber-fraud reporting channel — Canada (Canadian Anti-Fraud Centre), Australia (Scamwatch), Germany (BSI), etc. Search “[your country] crypto fraud report” and use the official government page. Not the first ad result.
What happens after
Realistically? Nothing visible to you for months, maybe ever. The reports go into a pattern-matching database. The reports only move to active investigation when a critical mass of complaints points at the same address or platform, or when the loss is large enough to justify the resource.
That’s the honest answer. File anyway. It is the right thing to do and it covers your downstream paperwork.
Recovery scam warnings (the “I can get your crypto back” fraud)
This needs its own section because it traps so many people in the worst moment of their crypto life.
Within hours — sometimes minutes — of a hack going public (a Reddit post, a tweet, a Discord message), the recovery scammers move in.
The pitch
- “I’m a blockchain investigator. I can trace your funds and recover them. My fee is 10–20% of the recovered amount.”
- “We work with Chainalysis / Elliptic / law enforcement. We have direct contacts.”
- “Send 0.5 ETH for the initial trace. Once we locate the funds, you pay the rest on recovery.”
The reality
There is no scenario in which a legitimate recovery service finds you. They don’t DM strangers. They don’t post in Reddit threads. They don’t operate as one-person Telegram accounts.
Real on-chain tracing is done by firms like Chainalysis and TRM Labs, working under contract for exchanges, law enforcement, or large institutional victims. They don’t take retail clients off the street.
If anyone DMs you, comments on your post, or emails you offering recovery — block, do not reply, do not engage. They are the second wave of the same scam pattern. They take an upfront fee, do nothing, and disappear.
Real recovery rates
Across the whole industry, less than 1% of stolen crypto is ever returned to victims. The exceptions are large institutional hacks (Wormhole, Ronin, some DeFi exploits) where on-chain tracing plus regulatory pressure on cashout points worked. Retail hacks are not in that category.
The single best defence against recovery scams is knowing this number before you read your first DM.
Chainalysis + on-chain tracking (when it works, when it doesn’t)
You can do basic on-chain tracking yourself. It won’t recover funds, but it tells you where they went and might help an investigation later.
What you can do yourself
- Open the attacker’s destination address on Etherscan or Tronscan.
- Follow the outgoing transactions. Most attackers send funds to a mixer (Tornado Cash historically, increasingly to alternative mixers since Tornado was sanctioned) or to a centralised exchange.
- If the funds hit a centralised exchange wallet (you can identify these on Etherscan — labelled “Binance 14”, “Coinbase 10”, etc.), report the address to that exchange’s compliance team. Use the official “report stolen funds” form, not support DMs.
What only specialist firms can do
- Cluster analysis — linking multiple addresses to the same real-world entity using behavioural patterns
- Mixer demixing — partial in some cases, especially with smaller mixers
- Cross-chain tracking through bridges
- Cooperation with law enforcement to subpoena exchange KYC records
When it works
Recovery via on-chain tracking succeeds most often when:
- The theft hits a major target (large protocol, high public profile)
- The funds move through a regulated exchange that complies with freeze requests
- The geography of the attacker is within reach of law enforcement
- The loss is large enough to justify a paid investigation
None of those usually apply to a retail wallet hack of $5,000 — $500,000.
When it doesn’t
- Funds split fast across many addresses
- Funds move through a non-cooperative mixer or jurisdiction
- The attacker is patient enough to wait months before cashing out
- The destination is a Russian, North Korean, or non-extradition exchange
That covers most retail hacks.
How the hack likely happened (5 common vectors)
While the funds are gone, the lesson is not. You almost certainly know how it happened — or you can work it out by elimination. Here are the five vectors I see, in rough order of frequency.
1. Seed phrase exposure
You entered your seed somewhere. A phishing site, a fake wallet app, a “support tool”, a cloud note that got compromised, a photo in your camera roll that was scraped. Once a seed leaks, every address derived from it is compromised forever.
Tell: the wallet was drained all at once, including assets across multiple chains, with no warning signature prompt.
2. Malicious approval / drainer contract
You signed a transaction approving a contract to spend your tokens. The contract drained the wallet later.
Tell: specific tokens drained, others left behind. The drainer transaction has the approving contract’s address, not yours, as the sender.
3. Browser extension malware
A fake or compromised MetaMask, Phantom, or Rabby extension. Or a legitimate one paired with another extension that read your data.
Tell: the drain happened during or shortly after a session where you signed a transaction that “felt fine” but went to an unexpected destination.
4. Clipboard hijacker
Malware on your device watches the clipboard. When you copy a wallet address, it replaces it with the attacker’s address before you paste.
Tell: you sent funds to what you thought was your own address but the funds went to an unfamiliar one.
5. SIM swap / exchange takeover
Not technically a wallet hack but commonly bundled. Attacker takes over your phone number, resets the password on your exchange account, withdraws funds.
Tell: the loss is from an exchange account, not a self-custody wallet. Your phone number “stopped working” hours before the loss.
The defence against most of these is the same: hardware wallet for cold storage, dedicated hot wallet for dApps, app-based 2FA, never share a seed, verify addresses on the hardware device’s screen.
NordVPN + 2FA defence setup
Two upgrades that block a lot of the attack patterns above.
NordVPN on every device
A VPN encrypts your traffic before it hits whatever network you’re on. On public WiFi (coffee shop, hotel, airport, conference) this stops DNS hijacking — the attack where a malicious router redirects you to a fake exchange page that looks identical to the real one.
I run NordVPN (affiliate) on every device that touches crypto. It costs about £3/month and runs in the background. The kill switch is the key feature: if the VPN drops, the network connection drops with it instead of leaking unprotected. Pick whichever VPN you trust, but use one.
App-based 2FA everywhere
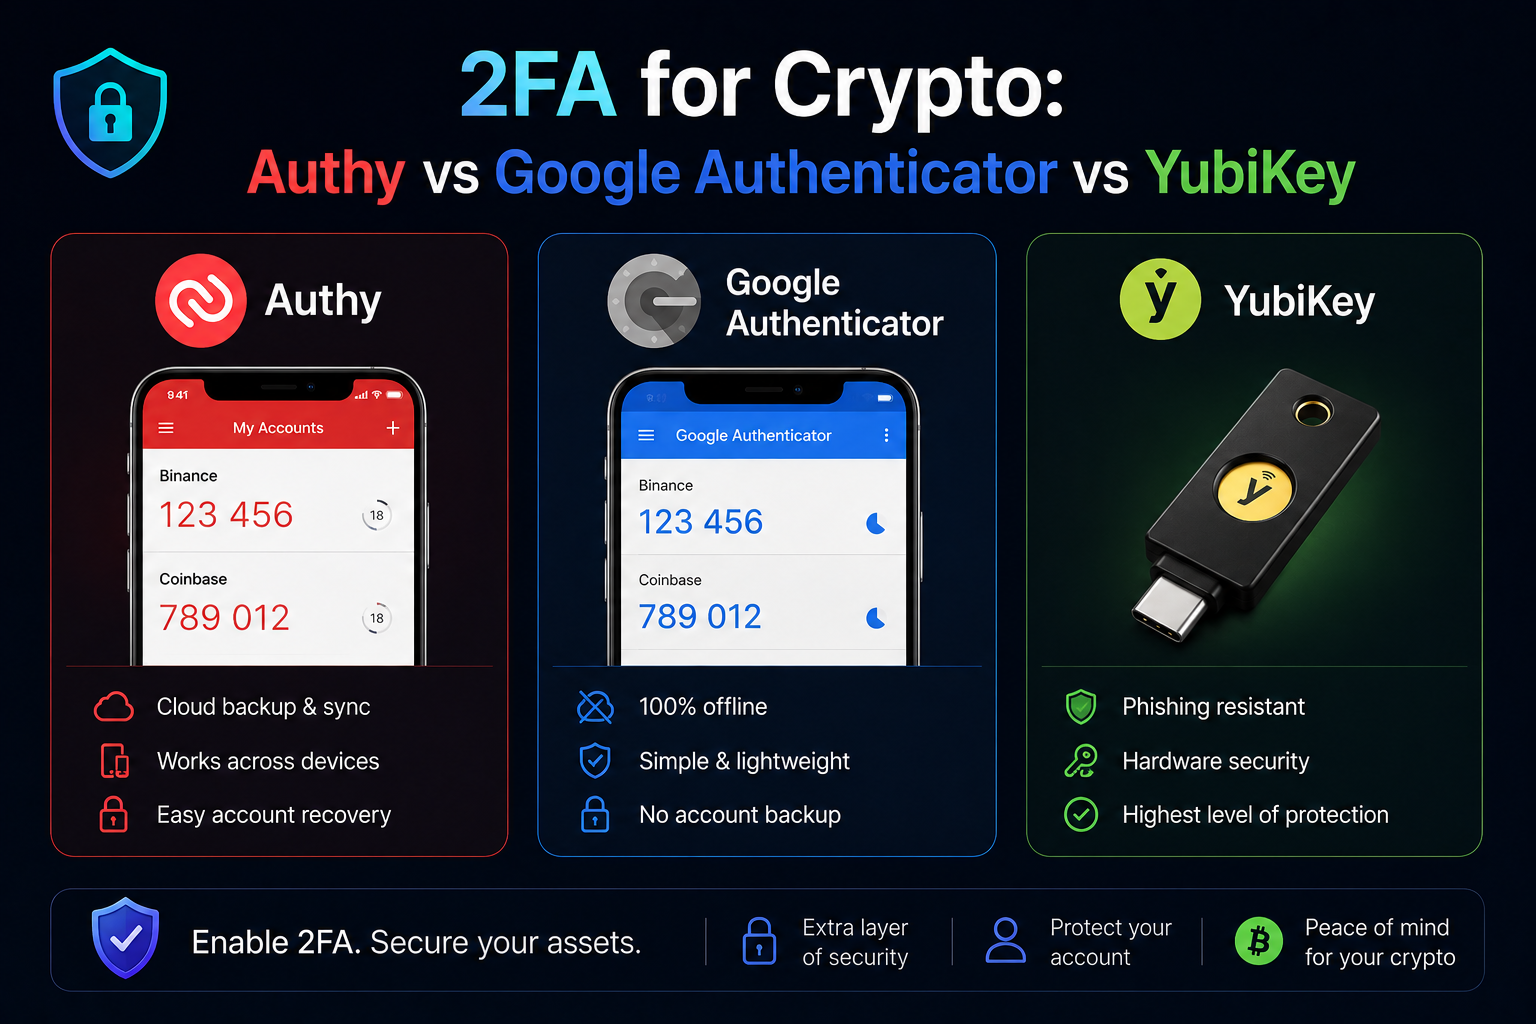
Disable SMS 2FA. It’s the vector for SIM swap attacks and it’s been broken for years. Use Google Authenticator, Authy, or a hardware key (YubiKey) for every exchange account.
The 2FA for crypto post goes through the setup step by step.
Port-out PIN with your carrier
Call your mobile carrier and add a port-out PIN — a number that has to be supplied before the line can be transferred to a new SIM. It’s not bulletproof (carriers have been social-engineered around it) but it raises the bar.
Dedicated email for crypto
Use an email address that you only use for exchanges and wallets. Never post it publicly, never use it for social media, never use it to subscribe to newsletters. The attacker can’t target what they can’t find.
Long-term: move to hardware wallet
The single biggest upgrade after a hack is moving everything you don’t actively trade to cold storage. A hardware wallet (Ledger, Trezor) keeps your private keys offline. Even if your laptop is fully compromised — keylogger, browser exploit, clipboard hijacker, the lot — the seed never leaves the hardware device.
How the two-wallet split works
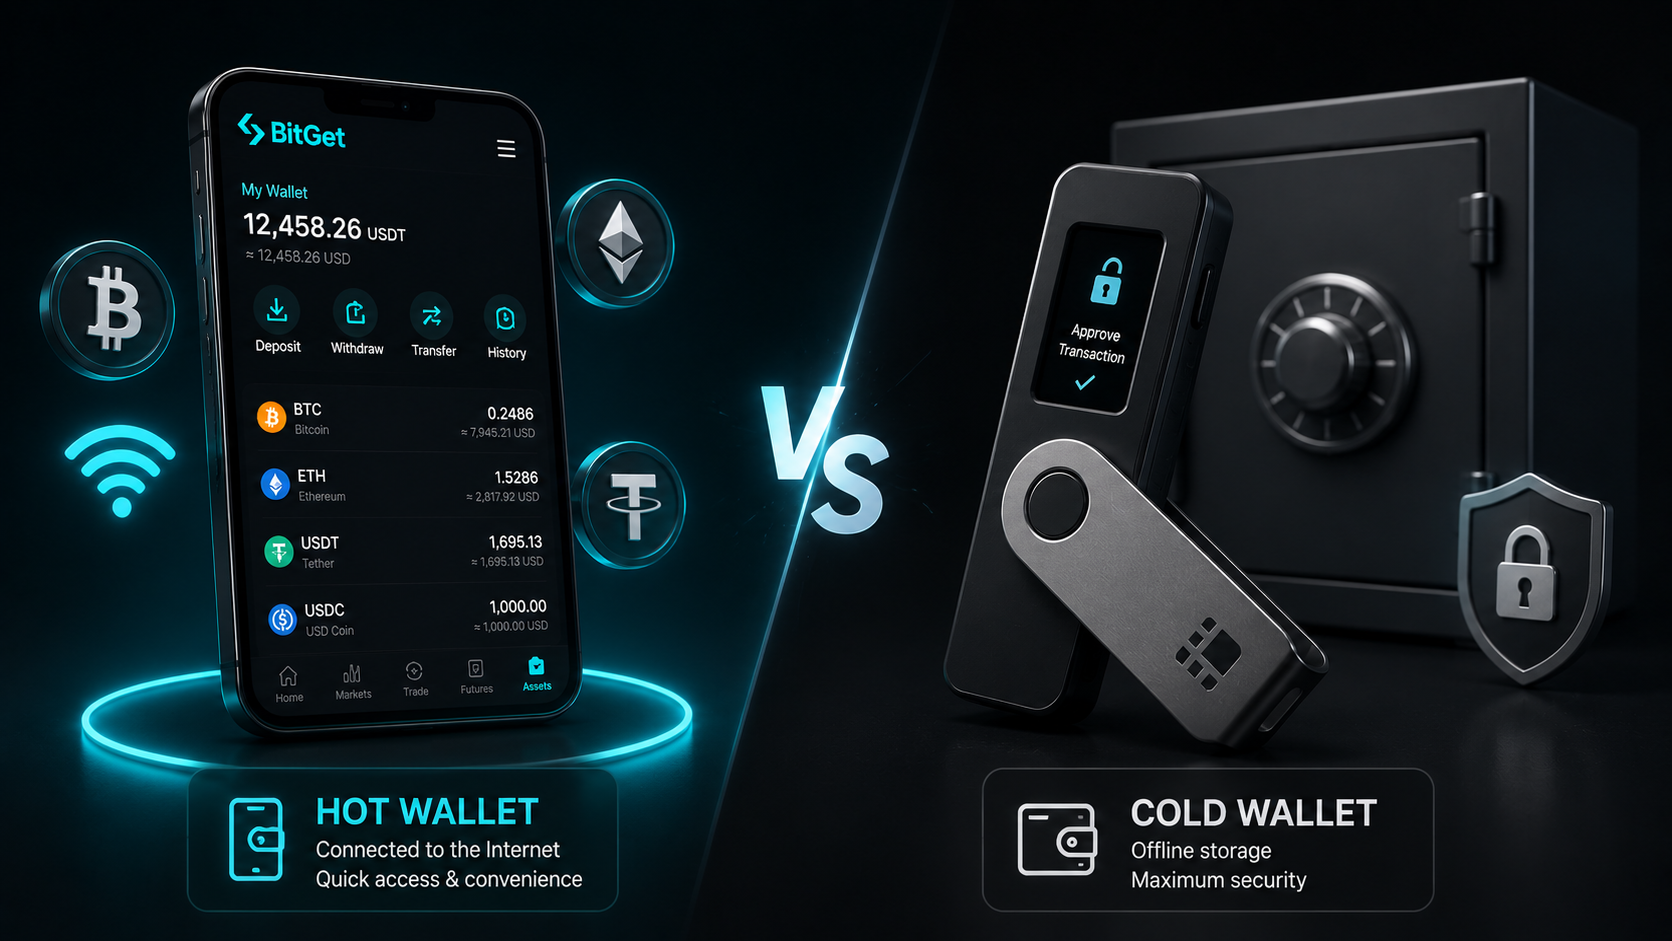
- Hot wallet (MetaMask, Rabby, Phantom on your laptop): for active trading, dApp interactions, NFT mints. Holds only what you’re willing to lose to a drainer. Small amount.
- Cold wallet (Ledger Nano X, Trezor Safe 3): for long-term holdings. Connects to the same software wallets via USB or Bluetooth for the rare times you need to move funds. Holds the majority of your portfolio.
I run this split. The hot wallet has had a malicious approval or two over the years. The cold wallet has never been compromised because the seed has never been entered into a device that’s online.
If you want the specific hardware I use, Ledger Nano X review goes into the detail. Ledger vs Trezor is the head-to-head if you’re choosing.
Order a Ledger here (affiliate).
Also: review your seed storage
A hardware wallet only helps if the seed phrase backup is also secure. The seed phrase storage post covers metal backups, geographic separation, and the patterns that survive a house fire or burglary.
The single upgrade that stops it happening again.
A hardware wallet means even a fully compromised laptop can’t drain your long-term bag. It’s the cheapest insurance in crypto.
Affiliate link. I may earn a commission at no extra cost to you.
The week after — accounts to lock down
The wallet drain is usually visible. The bit that gets people a second time is the credentials that shared a device, a password, or an email with the compromised wallet.
Same-day
- Change the password on every exchange account, starting with the highest balance.
- Force-log-out every active session on every exchange (Security settings → Sessions → Log out all).
- Rotate API keys on every exchange. If you can’t list every one from memory, assume any are compromised and rotate them all.
- Rotate the email password if the email was used on the compromised device.
- Rotate the password on any password manager that synced to the compromised device.
Within 48 hours
- Move long-term holdings from exchanges to a new hardware wallet (not the same seed as the compromised one).
- Disconnect any active dApp sessions on every wallet you control. WalletConnect sessions can persist for weeks.
- Review every authenticator app entry. Re-enrol any 2FA that may have been compromised.
Within a week
- Run a clean OS reinstall on the suspect device. Don’t restore from a backup that might contain the malware.
- Audit your browser extensions and remove any you don’t actively use.
- Review your email forwarding rules — attackers sometimes set up silent forwards to keep harvesting recovery codes after you’ve locked them out.
That sequence stops the second hack that often follows the first.
FAQ
Can stolen crypto be recovered?
Rarely. Industry-wide, under 1% of stolen retail crypto is returned. Recovery is more likely when the funds hit a compliant centralised exchange quickly and you report fast — within hours. After that the chances drop to near zero.
Should I pay a “recovery service” that offers to get my crypto back?
No. Every service that proactively offers to recover stolen crypto is itself a scam. Legitimate on-chain investigators do not solicit retail clients. Block any account that DMs you with this pitch.
How long after the hack do I have to act?
The first 10 minutes are the highest-leverage. The first hour matters for reporting to exchanges that might freeze funds in transit. After 24 hours, the funds have usually moved through mixers or non-cooperative exchanges and recovery is gone.
Will my crypto exchange refund me if my wallet is hacked?
If a self-custody wallet (MetaMask, Phantom, Ledger) is hacked, no — the exchange has no role and no obligation. If your exchange account itself was hacked due to a security failure on the exchange, some platforms have a discretionary insurance fund. BitGet runs a $400M+ Protection Fund. Coinbase has limited insurance. Most others have nothing.
Should I tell the police if my crypto is stolen?
Yes — for the paper trail, even if recovery is unlikely. File with IC3 in the US, Action Fraud in the UK, or your equivalent national channel. The case reference number is what tax authorities and insurers will ask for later.
Can I claim a tax loss for stolen crypto?
In most jurisdictions yes, but the rules are restrictive. US: limited to the cost basis, subject to specific theft-loss treatment. UK: similar via negligible value claims. Document everything — transaction hashes, dates, official report references — at the time, not months later.
What’s the difference between a hack and a scam?
A hack is when someone takes funds without your consent (malware, exploit, SIM swap). A scam is when you authorise the transaction yourself under false pretences (phishing, pig butchering, drainer contract). Legally the categories differ. Operationally the recovery odds are similarly low.
How do I know if my seed phrase has been compromised?
You usually don’t, until funds move. If you suspect the seed has been seen by anything beyond your hardware wallet and your physical backup — assume it is compromised and generate a new seed.
Final word
The honest truth is the recovery story is grim. The energy is better spent on prevention.
If you’ve just been hacked, follow the playbook in this post in order. Move what’s left. Revoke approvals. Document. Report. Lock down the surrounding accounts. Then upgrade your setup so it cannot happen the same way again.
If you haven’t been hacked but you read this anyway — make the upgrade now. Hardware wallet for cold storage. App-based 2FA. VPN on public WiFi. Dedicated hot wallet for dApps. Never type your seed anywhere except into the hardware device that generated it.
If I were starting again today, this is the order I’d do it in: Ledger first, authenticator app second, NordVPN third, hot/cold split fourth. The whole setup costs under £150 and it blocks the patterns that drain six-figure wallets.
Right — over to you.
Related posts