I have watched two traders I know personally lose their full BitGet balance to an API leak. Both were running automated strategies. Neither thought it could happen to them. One pasted a key into a public GitHub repo at 2am while debugging. The other turned on withdrawal permission “just in case I want to move funds” and left the key on a laptop that got malware-scraped six weeks later.
API trading is a force multiplier — it lets you run strategies you cannot run manually. It is also the one place on BitGet where a single careless mistake clears your account in 30 seconds. This is the setup I run, the permissions I never enable, and the three mistakes that have wiped people I know.
Heads up: This post covers API trading. An API key with the wrong permissions can drain your account faster than any leverage trade. If you are new to crypto, ignore the API for at least 6 months. Learn the platform manually first.
Short answer: BitGet’s API lets you read account data, place trades, and (optionally) move funds programmatically. You generate keys in Security Settings, assign permissions (read, trade, withdraw — never enable withdraw unless you have a specific reason), and you must whitelist the IP address that will be using the key. The standard rate limit is 20 requests per second per IP for trading endpoints, more for read-only. ccxt is the easiest Python library to start with. Three mistakes wipe accounts: no IP whitelist, withdraw permission enabled, secret committed to a repo.
Open BitGet and generate an API key → (affiliate link)
Key takeaways
- BitGet API permissions split into three scopes: read, trade, and withdraw. Only enable what you actually need.
- IP whitelisting is mandatory if you turn on trade or withdraw permission. Use it even when not required.
- Standard trading rate limit is 20 requests per second per IP. Read-only is higher. Hit it too often and you get a temporary ban.
- ccxt covers BitGet spot and futures with one library. The official BitGet Python SDK is more current for new endpoints.
- A leaked secret is non-recoverable. Treat the API secret like a password to a bank vault with no insurance.
What BitGet API trading is
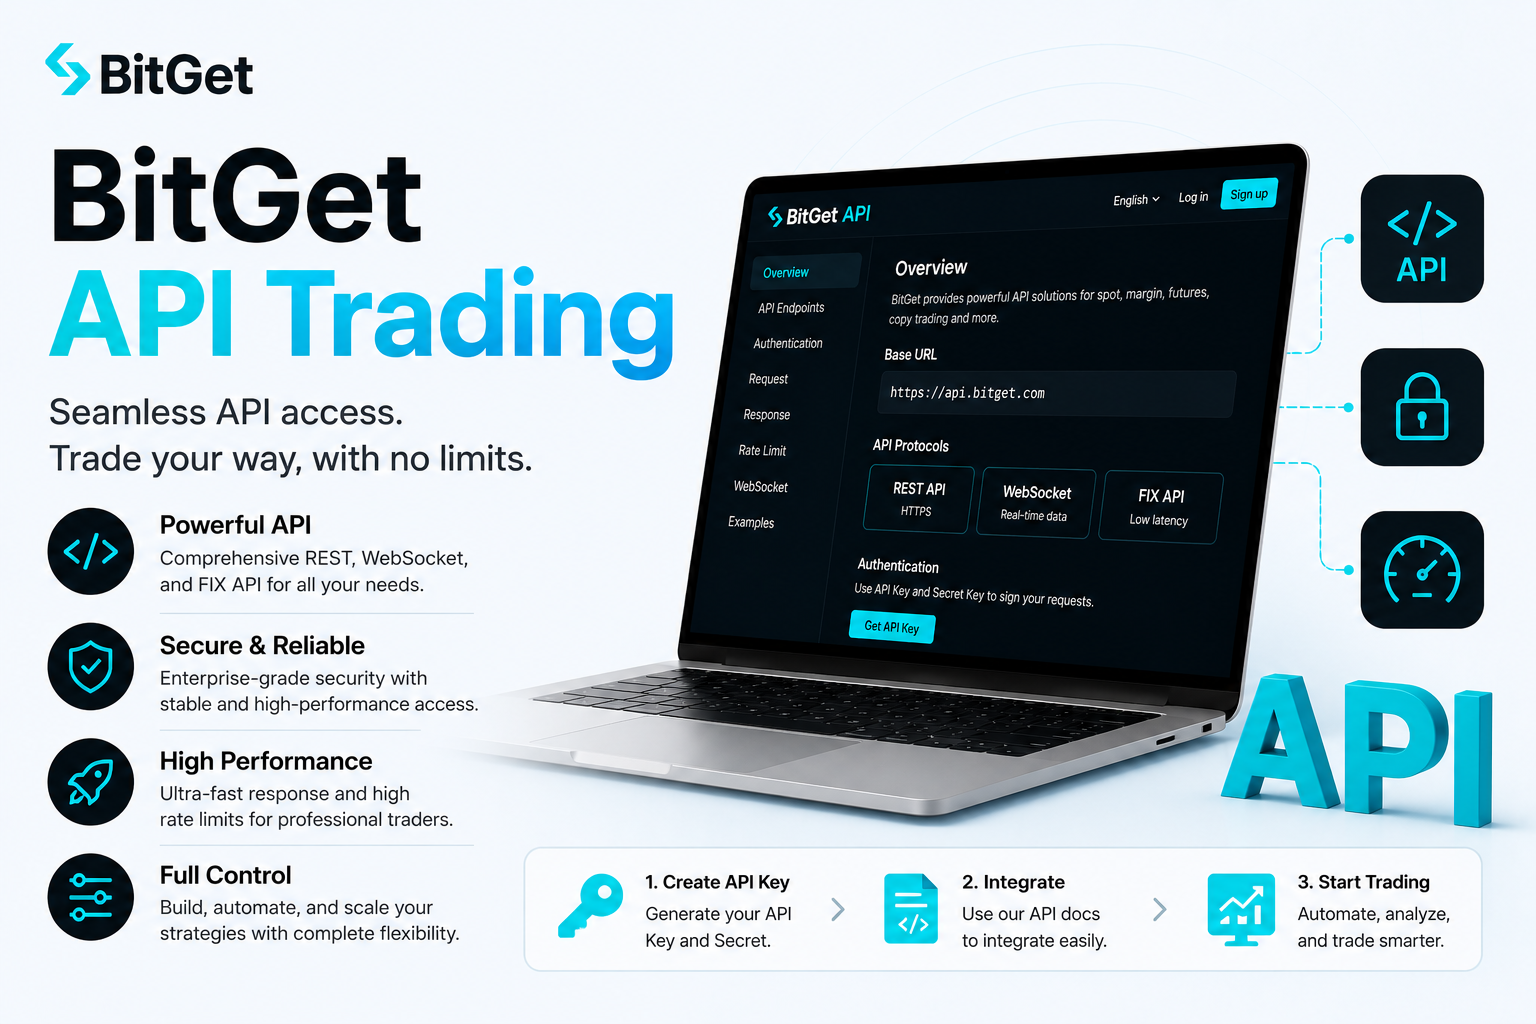
The BitGet API is a programmatic interface that lets your code do anything you can do in the BitGet app — read your balance, place orders, cancel orders, query market data, run bots, move funds. It is a REST + WebSocket pair.
- REST API — request/response. Used for placing orders, querying account state, reading historical candles. Most actions go here.
- WebSocket API — persistent connection, real-time data. Used for live order book updates, live ticker data, live order fill notifications.
Most retail strategies need both. REST to send the orders, WebSocket to react to fills and market changes in real time.
Three scopes that matter
When you generate an API key on BitGet, you assign permissions to it. The three scopes are:
| Scope | What it lets the key do | Risk if leaked |
|---|---|---|
| Read | Query balances, order history, market data | Low — attacker sees your activity but cannot act |
| Trade | Place and cancel orders, manage positions | High — attacker can place market orders that drain liquid value via fee spread or self-trades |
| Withdraw | Initiate withdrawals to whitelisted addresses | Catastrophic — attacker drains the account |
Default for most retail automation: read + trade. Withdraw stays off. Always.
If you ever do need withdraw scope (rare — usually only for transferring profits to a settlement wallet on a schedule), enable it temporarily, do the withdrawal, disable it again. Never leave it on as standing permission.
Generating API keys safely
The setup steps inside BitGet take about three minutes. The security setup around them is what takes longer to get right.
Step-by-step key generation
- Log into BitGet on a trusted device. Not a public computer. Not a friend’s laptop.
- Go to Account → API Management. It is under the user icon in the top right.
- Click “Create API key”. You will be asked to verify with 2FA.
- Name the key. Use a descriptive name that tells you what it is for. “Grid bot BTC USDT” or “ccxt swing strategy”. You will thank yourself in three months when you have eight keys and need to know which is which.
- Set permissions. Read by default. Trade if needed. Never withdraw.
- Set IP whitelist. This is mandatory for trade and withdraw. Enter the static IP your code will run from.
- Set passphrase. BitGet requires a passphrase as part of the auth flow. Generate a long random string. Store it with the key.
- Submit. Copy the key, secret, and passphrase IMMEDIATELY. The secret is shown once. If you lose it, you delete the key and start over.
The “copy the secret once” rule is where most key losses happen. Have your password manager open before you click create. Paste the secret straight into a new entry.
Where to store the key
Never:
- In a code file on your machine
- In a
.envfile committed to git - In a Slack message, email, or chat log
- In a sticky note on your desk
- In a screenshot
Always:
- In a password manager (1Password, Bitwarden, etc.) as a Secure Note
- In a
.envfile that is in your.gitignoreand lives only on the deploy host - In a cloud secrets manager (AWS Secrets Manager, GCP Secret Manager, Vault) for production systems
The single biggest source of leaks is .env files committed to GitHub. Bots scan the public GitHub event stream for leaked exchange keys within seconds of commit. The attacker often has the key automating against your account before you notice the push.
IP whitelisting (mandatory — and here is why)
IP whitelisting tells BitGet: “only accept API requests for this key from these specific IP addresses”. Any request from a different IP is rejected.
This single feature blocks the vast majority of post-leak attacks. Even if your secret leaks, the attacker cannot use it from their machine — they would need to spoof your specific IP, which is not practical at internet scale.
When you must whitelist
- Any key with trade permission enabled
- Any key with withdraw permission enabled
- Honestly, any key you generate
BitGet enforces whitelisting on trade and withdraw scopes — you cannot create those keys without an IP list. Read-only keys can run without a whitelist, but I still set one.
What IP to use
You need a static public IP for the machine running your code. Three common setups:
- VPS with static IP — DigitalOcean, Linode, AWS EC2 with an Elastic IP. Cleanest. Cheap ($5-20/month).
- Home machine with static IP from ISP — only if your ISP gives you a static IP. Most do not.
- Home machine + VPN with static exit IP — viable but adds a failure point. If the VPN drops, your bot stops.
For production strategies, the VPS route is the standard. For testing, you can use your home IP and accept that if it changes you regenerate the key.
The VPN edge case
A normal consumer VPN gives you a shared exit IP that changes constantly. That breaks the whitelist and your bot will fail. If you want VPN privacy on the device you trade from for browsing and login security, that is sensible — I run NordVPN (affiliate link) on the laptop I trade from for exactly that reason. But the API key itself should point at a static server IP, not the consumer VPN IP. Separate concerns.
If you want a dedicated static IP through a VPN service for the bot host, NordVPN sells those as an add-on. So do most enterprise VPN providers. Treat it as a server feature, not a user feature.
Permission scopes (the withdrawal scope is the danger zone)
The withdraw scope is where every catastrophic API loss has happened to people I know. It deserves its own section.
Why people enable it (and shouldn’t)
The reasons I have heard for turning on withdraw scope on a retail bot key:
- “I want to auto-sweep profits to my hardware wallet” — set a manual reminder once a month instead
- “My strategy needs to rotate between sub-accounts” — use BitGet’s internal transfer endpoints, which are separate from external withdraw
- “I might need it later” — turn it on later, not now
- “It is only a small balance, so the risk is low” — the balance will grow and you will forget the key is permissive
None of these are good enough reasons. The cost-benefit is asymmetric: enabling it saves you a manual click a few times a month. Leaving it disabled saves your account if anything goes wrong.
The clean rule
Default permissions on every key I generate: read + trade.
If I actually need to move funds out, I do it manually from the app. If a strategy is so critical that it cannot wait for me to click “withdraw” manually, the strategy is too aggressive and I redesign it.
The BitGet withdrawals page covers manual withdrawal mechanics if you have not used them before.
Rate limits (avoiding bans)
BitGet enforces rate limits at three levels: per IP, per UID, and per endpoint. Exceed them and you get a 429 response. Exceed them repeatedly and you get a temporary ban — usually 1-10 minutes, sometimes longer.
The standard limits (at time of writing)
| Category | Limit | Notes |
|---|---|---|
| Spot trading (place/cancel order) | 20 req/sec per IP | Most retail bots stay well under this |
| Futures trading | 20 req/sec per IP | Same as spot |
| Market data (REST) | 20 req/sec per IP | Use WebSocket for high-frequency market data |
| Account queries | 10 req/sec per IP | Cache balance/positions locally |
| WebSocket subscriptions | 240 connections per UID | Generous, you will not hit this |
These change. Always check the official BitGet API docs for the current numbers before you push to production.
How to stay under
The two patterns that get retail traders rate-limited:
- Polling balance on every loop iteration. If your strategy runs a tight loop checking balance to confirm an order filled, you will hit the limit fast. Use WebSocket order updates instead.
- Cancel-and-replace storms. A market-making bot that adjusts its orders 100 times a second will rate-limit itself within minutes. Throttle aggressively or use amend-order endpoints where supported.
What to do when rate-limited
- Read the
Retry-Afterheader in the 429 response if present - Back off exponentially — wait 1s, then 2s, then 4s, then 8s
- Log it. Repeated rate limits mean your code has a bug, not BitGet has a problem
ccxt setup in Python (code snippet)
ccxt is the most popular cross-exchange Python library and supports BitGet for spot, futures, and basic account ops. It is the fastest way to get a working API call in 5 minutes.
Install
pip install ccxt
Minimal example: query balance
import ccxt
import os

exchange = ccxt.bitget({
    "apiKey": os.environ["BITGET_API_KEY"],
    "secret": os.environ["BITGET_SECRET"],
    "password": os.environ["BITGET_PASSPHRASE"],  # BitGet calls this "passphrase"
    "options": {
        "defaultType": "spot",  # or "swap" for futures
    },
})

balance = exchange.fetch_balance()
print(balance["total"])
Place a limit order
order = exchange.create_order(
    symbol="BTC/USDT",
    type="limit",
    side="buy",
    amount=0.001,
    price=60000,
)
print(order)
What ccxt does well
- Cross-exchange — your code works on Binance, Bybit, OKX with one-line changes
- Stable abstractions for common operations
- Active maintainer community
- Handles auth signing for you
What ccxt does less well
- New BitGet endpoints sometimes lag — copy trading, bot management, some Earn endpoints are not exposed
- Error messages can be generic; the underlying BitGet error code may be more specific
- Futures-specific features like position mode toggle and margin mode switch require unified vs raw call patterns that change between versions
For anything beyond standard spot and futures, use the official BitGet Python SDK — it is more current for new endpoints but less elegant.
BitGet API libraries
Quick reference for the main libraries by language.
| Language | Library | Notes |
|---|---|---|
| Python | ccxt | Cross-exchange. Best for beginners. |
| Python | bitget-python | Official SDK. Better for advanced endpoints. |
| JavaScript / Node | ccxt | Same library, ported to JS. |
| JavaScript / Node | bitget-api | Official Node SDK. |
| Go | gobitget | Community-maintained. |
| Rust | bitget-rs | Community-maintained, less battle-tested. |
For the first 10 strategies you build, ccxt is enough. Switch when you hit a specific endpoint it does not cover.
The 3 fatal API mistakes
Almost every API-related account loss I have seen falls into one of these three buckets.
1. No IP whitelist on a key with trade permission
If you generate a trade-permission key and leave the IP whitelist empty (or whitelist 0.0.0.0/0 in services that allow it), anyone with the secret can trade from any IP. A leaked secret + no whitelist = drained account in seconds.
Always set the whitelist. Always.
2. Withdraw permission enabled by default
Withdraw permission turns a leaked secret from “annoying” into “catastrophic”. Even if you trust your code, you do not control your laptop’s malware exposure, your backup tool’s security, or the supply chain of every Python library you import.
Default: withdraw disabled. Always.
3. Secret committed to a public repo
GitHub indexes public code in seconds. Bots scan the event stream for patterns matching exchange API secrets. Within 60 seconds of a public commit, a leaked secret is being tested against the exchange. Within minutes, it is being used.
Always: .gitignore your .env file before you create it. Use a secrets manager for production. Run git-secrets or truffleHog as a pre-commit hook to scan for accidental leaks.
If you ever push a secret by accident — even for 30 seconds — assume it is burned. Delete the key on BitGet immediately. Rewriting git history does not help because the secret is already in someone’s scraper database.
The Ledger Academy has good general guidance on protecting credentials and seed phrases — most of the principles transfer to API secrets. And if you want the wider security playbook for a serious crypto setup, how to store crypto safely covers the layered approach.
Going from API to live trading
Once you have keys generated, whitelisted, and a working ccxt connection, the path to live trading goes through three checkpoints. Skipping any of them is how strategies blow up in week one.
1. Paper trade against the real API
Connect to the production BitGet API with a read-only key. Have your strategy compute every signal it would normally act on, but only log them — no orders placed. Run for at least two weeks. Plot the would-be P&L. If it does not work in simulation against real market data, it will not work live.
2. Tiny live size
Once paper trading looks reasonable, switch to a key with trade permission and run the strategy with order sizes smaller than you would ever use live. Like, 1% of intended size. Run for at least a week. You are not testing P&L here — you are testing that order placement, fills, partial fills, cancels, and reconnection logic all work as expected when real money is on the line.
3. Scale up in steps
If the small-size live test passes, double the size. Run for a few days. Double again. Watch for the size at which slippage becomes meaningful. Many retail strategies that look profitable on a $100 position do not scale to a $10,000 position because the order book is too thin.
What to monitor in production
- Order fill rates (am I getting filled at the prices I expect?)
- Slippage per order (creeping up over time?)
- Strategy P&L vs benchmark (is the strategy actually adding value vs holding spot?)
- API error rates (is BitGet returning errors at higher frequency?)
- Connection uptime (am I missing fills due to WebSocket disconnects?)
Most retail bots have a metrics dashboard. Even a simple Google Sheet that the bot writes one row to per trade is enough to start.
If you want to skip writing all this yourself, BitGet’s own bot suite handles the lifecycle for grid and DCA strategies without writing any code. The native BTC/USDT spot bot (affiliate link) is what I run on a portion of my float because it is set-and-forget. API-built strategies are for the cases where the native bots cannot do what you need.
Where most API traders give up
Honest reality check: 90% of retail traders who set up an API account never run a profitable strategy. The reasons:
- They build a backtest that works in historical data and fails in live because of slippage and latency
- They implement a strategy from a YouTube video without understanding why it should work
- They underestimate the operations cost — keeping a bot alive 24/7 is engineering work
- They size up too fast after a winning month and blow up in the second month
If you are pursuing API trading because you want to learn — go for it, it is a valuable skill. If you are pursuing it because you saw someone post 600% APY screenshots, stop. The honest path to consistent crypto returns is more about discipline on a manually-traded book than about automating a complex strategy.
For learning trading itself before you automate, Trade Travel Chill (affiliate link) is the structured education community I came up through. Learn the discretionary skill first. Automation is faster when you know what you are automating.
Ready to build?
Open a BitGet account and you can generate API keys from Account → API Management within 5 minutes of KYC clearing.
Affiliate link. I may earn a commission at no extra cost to you.
My checklist before any key goes live
I run through this checklist every time I generate a new API key. It takes 3 minutes and has saved me twice.
- [ ] Key name describes what it is for
- [ ] Permissions: read + trade only (withdraw disabled)
- [ ] IP whitelist set to my static server IP
- [ ] Passphrase is a fresh random string (not reused)
- [ ] Secret saved to password manager immediately
- [ ]
.envfile added to.gitignorebefore secret is pasted in - [ ] Pre-commit hook scans for leaked secrets
- [ ] First live request is a read-only balance check
- [ ] First live order is a tiny size to confirm round-trip
- [ ] Key is dated in my key inventory so I can rotate it every 6 months
That last one — rotation — is the habit most retail traders skip. Even a perfectly-secured key has more risk after a year than it does on day one. Roll keys regularly.
FAQ
Do I need to enable API access on BitGet to use trading bots?
Not for BitGet’s native bots — those run inside your account without API keys. You only need an API key for third-party bots, custom code, or trading frontends like Cornix.
What is the BitGet API passphrase?
It is a third secret (alongside the API key and secret) that BitGet requires for authentication. You set it when you create the key. It adds a layer of protection — even if the key and secret leak but the passphrase does not, the credentials cannot be used.
Can I have multiple API keys on one BitGet account?
Yes. I keep one per strategy. Makes it easy to rotate or revoke one without affecting others.
How long do BitGet API keys stay active?
Indefinitely, unless you delete them or BitGet expires them due to inactivity (rare). Best practice is to rotate every 6 months even if not required.
Can I trade futures with the BitGet spot API key?
No. Permissions are separate. If you want to trade futures, you set futures permissions on the same key — but the practice is to use separate keys per market.
What happens if my BitGet API key is rate-limited?
You get HTTP 429 responses. Repeated rate limit hits in a short window can result in a temporary IP ban (1-10 minutes typically). Add exponential backoff to your code.
Is the BitGet API free?
Yes. There is no cost to generate or use API keys. You pay normal trading fees on orders placed through the API.
Should I use ccxt or the official BitGet SDK?
ccxt for portability and cross-exchange code. Official SDK for advanced or new BitGet endpoints. Many traders use ccxt for execution and the official SDK for endpoints ccxt has not added yet.
Final word
The BitGet API is powerful. It is also the one place where a single mistake can cost everything in the account. Default to least privilege: read + trade, never withdraw. Whitelist IPs always. Treat the secret like a vault key.
Get those three right and you are ahead of 90% of retail API users. Get any of them wrong and the platform cannot save you from yourself.
Right — over to you.
Ready to start?
Open a BitGet account, complete KYC, and you can generate your first API key within minutes.
Affiliate link.
External references
- Official BitGet API documentation
- ccxt library on GitHub
- BitGet’s official Python SDK
- Ledger Academy — credential security
Related posts